Spark Connect or Databricks Connect pipelines
This article covers how to use Spark Connect or Databricks Connect to run compute in Spark or Databricks from Dagster. These protocols allow you to centralize your Python code in your Dagster project and run it in Spark or Databricks.
Prerequisites
- Databricks Connect
- Spark Connect
- Create a new Dagster project:
Refer to the Dagster installation guide for more info.
uvx create-dagster@latest project <project-name> - Install the
databricks-connectpackage, based on your Python and Databricks Runtime version:uv pip install databricks-connect - In Databricks, you'll need:
-
A Databricks workspace. If you don't have this, follow the Databricks quickstart to set one up.
-
The following information about your Databricks workspace:
host- The host URL of your Databricks workspace, ex:https://dbc-xxxxxxx-yyyy.cloud.databricks.com/token- A personal access token for the Databricks workspace. Refer to the Databricks API authentication documentation for more info about retrieving these values.
You should set and export the Databricks host and token environment variables in your shell session:
export DATABRICKS_HOST=<your-host-url>
export DATABRICKS_TOKEN=<your-personal-access-token>
-
- Create a new Dagster project:
Refer to the Dagster installation guide for more info.
uvx create-dagster@latest project <project-name> - Install the
pysparkpackage:uv pip install pyspark - In Spark, you'll need:
-
A running Spark Connect server. If you don't have this, follow the Spark Connect quickstart to set one up.
-
The following information about your Spark Connect server:
host- The host URL of your Spark Connect server, by defaultsc://localhost.
You should set and export the Spark Connect host environment variable in your shell session:
export SPARK_REMOTE="sc://localhost"
-
Step 1: Create an asset computed in Spark Connect or Databricks Connect
In this step, you'll create a set of Dagster assets that, when materialized, execute code in Spark Connect or Databricks Connect.
You can scaffold assets from the command line by running dg scaffold defs dagster.asset <path/to/asset_file.py>. For more information, see the dg CLI docs.
In your Dagster project, create a file named spark_assets.py and paste in the following code:
from datetime import date

from pyspark.sql import SparkSession
from pyspark.sql.types import DateType, IntegerType, StringType, StructField, StructType

import dagster as dg


@dg.asset
def airport_temps(
    context: dg.AssetExecutionContext, spark: dg.ResourceParam[SparkSession]
):
    """High and low temperature data by airport code and date."""
    schema = StructType(
        [
            StructField("AirportCode", StringType(), False),
            StructField("Date", DateType(), False),
            StructField("TempHighF", IntegerType(), False),
            StructField("TempLowF", IntegerType(), False),
        ]
    )

    data = [
        ["BLI", date(2021, 4, 3), 52, 43],
        ["BLI", date(2021, 4, 2), 50, 38],
        ["BLI", date(2021, 4, 1), 52, 41],
        ["PDX", date(2021, 4, 3), 64, 45],
        ["PDX", date(2021, 4, 2), 61, 41],
        ["PDX", date(2021, 4, 1), 66, 39],
        ["SEA", date(2021, 4, 3), 57, 43],
        ["SEA", date(2021, 4, 2), 54, 39],
        ["SEA", date(2021, 4, 1), 56, 41],
    ]

    temps = spark.createDataFrame(data, schema)

    spark.sql("USE default")
    spark.sql("DROP TABLE IF EXISTS airport_temps")
    temps.write.saveAsTable("airport_temps")

    temps.show()


@dg.asset(deps=[airport_temps])
def max_temps_by_code(
    context: dg.AssetExecutionContext, spark: dg.ResourceParam[SparkSession]
):
    """Max temperatures by airport code."""
    max_temps_by_code = spark.sql(
        "SELECT AirportCode, MAX(TempHighF) AS MaxTemp "
        "FROM airport_temps "
        "GROUP BY AirportCode"
    )
    spark.sql("DROP TABLE IF EXISTS max_temps_by_code")
    max_temps_by_code.write.saveAsTable("max_temps_by_code")

    max_temps_by_code.show()
This code does the following:
-
Includes a number of imports from Dagster and pyspark.
-
Creates two assets named
airport_tempsandmax_temps_by_code. The body of these assets are implemented as ordinary Spark connect scripts. We also:- Provided
AssetExecutionContextas thecontextargument to the asset. This object provides access to system APIs such as resources, config, and logging. - Specified a
SparkSessionresource for the asset to use. We will provide this resource in the next step, connecting to Spark Connect or Databricks Connect.
- Provided
Step 2: Define the Spark Connect or Databricks Connect resource and definitions
You can scaffold resources from the command line by running dg scaffold defs dagster.resources <path/to/resources_file.py>. For more information, see the dg CLI docs.
- Databricks Connect
- Spark Connect
Add the following to a new file named databricks_resources.py to define a DatabricksSession and a Definitions object that binds it to our assets as a resource:
import os

from databricks.connect import DatabricksSession  # ty: ignore[unresolved-import]

import dagster as dg


@dg.definitions
def resources():
    databricks_session = (
        DatabricksSession.builder.remote(
            host=os.environ["DATABRICKS_HOST"],
            token=os.environ["DATABRICKS_TOKEN"],
        )
        .serverless()
        .getOrCreate()
    )

    return dg.Definitions(resources={"spark": databricks_session})
Add the following to a new file named spark_resources.py to define a SparkSession and a Definitions object that binds it to our assets as a resource:
import os

from pyspark.sql import SparkSession

import dagster as dg


@dg.definitions
def resources():
    spark_session = SparkSession.builder.remote(
        os.environ["SPARK_REMOTE"],
    ).getOrCreate()

    return dg.Definitions(resources={"spark": spark_session})
Step 3: Run the Spark Connect or Databricks Connect job from the Dagster UI
In this step, you'll run the Spark Connect or Databricks Connect job you created in Step 1 from the Dagster UI.
-
In a new command line session, run the following to start the UI:
dg dev -
Navigate to localhost:3000, where you should see the UI:
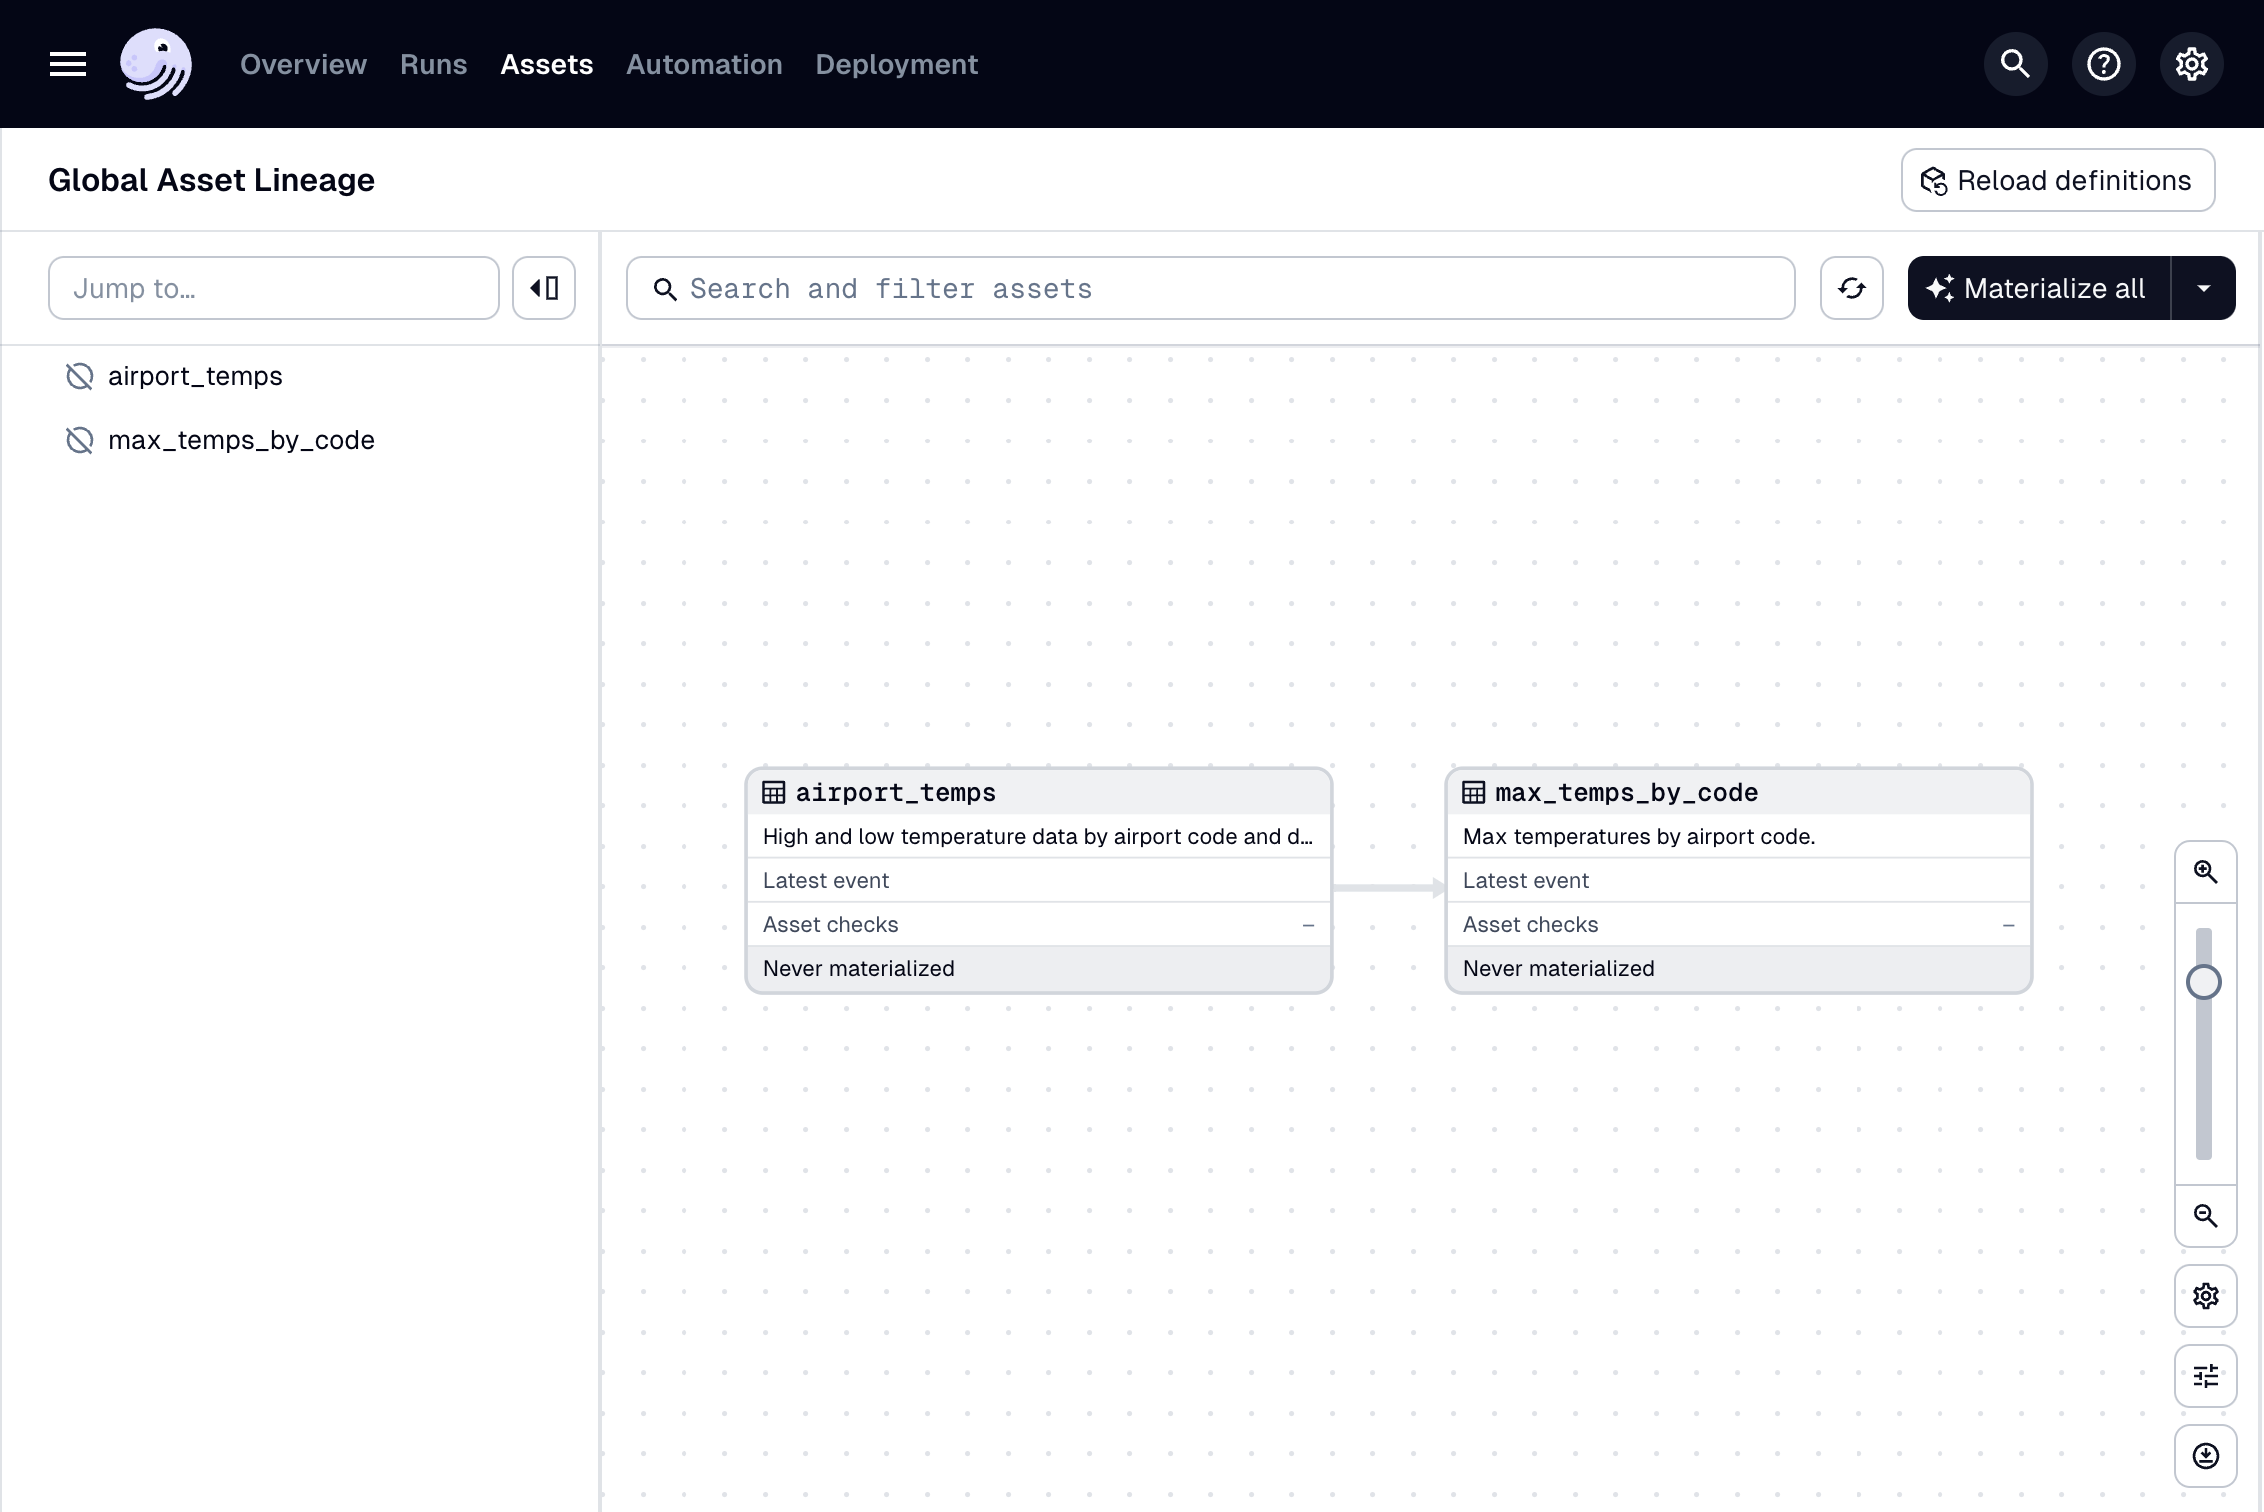
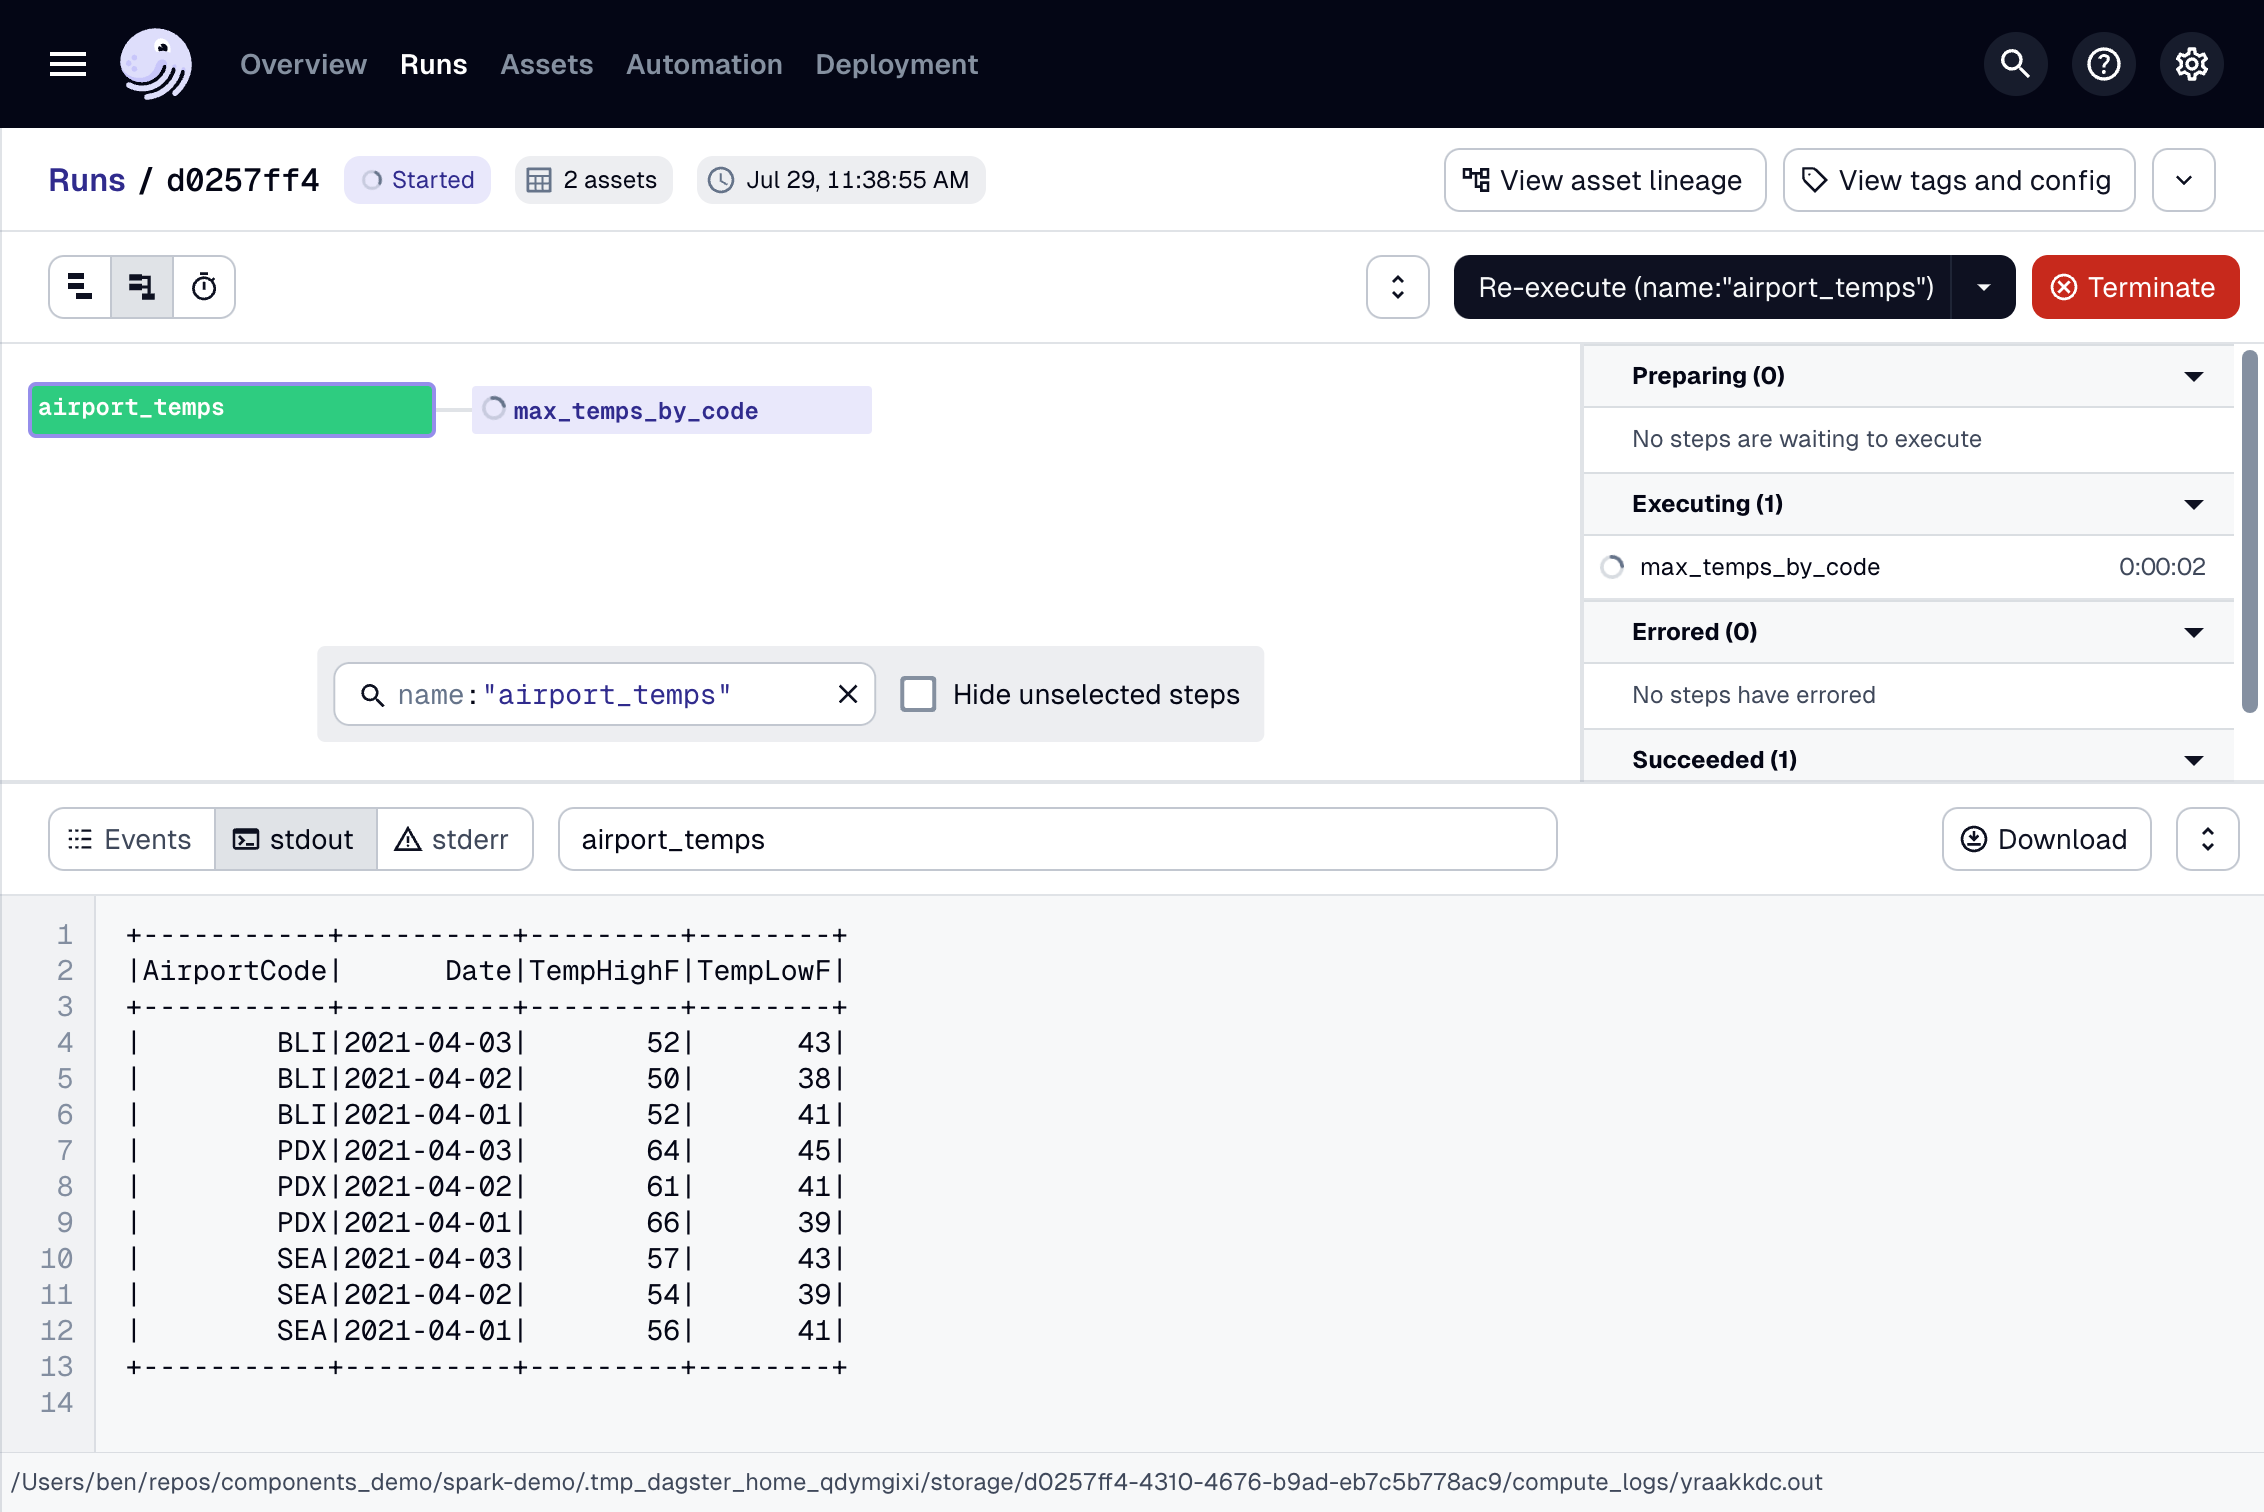
-
Click Materialize near the top right corner of the page, then click View on the Launched Run popup. Wait for the run to complete, and the event log should look like this: