Store compute logs in Azure Blob Storage or Azure Data Lake Storage
In this guide, we'll walk through how to store compute logs in Azure Blob Storage or Azure Data Lake Storage. This guide assumes you have already set up an Azure Kubernetes Service (AKS) agent and deployed user code in Azure Container Registry (ACR).
This guide focuses on using Azure Blob Storage, but the same steps should be applicable for Azure Data Lake Storage.
If you have not yet set up an AKS agent, you can follow the Deploy an Azure Kubernetes Service (AKS) agent guide. If you have not yet deployed user code in ACR, you can follow the Deploy user code in Azure Container Registry (ACR) guide.
Prerequisites
To complete the steps in this guide, you'll need:
- The Azure CLI installed on your machine. You can download it here.
- An Azure account with the ability to create resources in Azure Blob Storage or Azure Data Lake Storage.
- An Azure container in Azure Blob Storage or Azure Data Lake Storage where you want to store logs.
- Either the
quickstart_etlmodule from the hybrid quickstart repo, or any other code location successfully imported, which contains at least one asset or job that will generate logs for you to test against.
Step 1: Give AKS agent access to blob storage account
We need to ensure that the AKS agent has the necessary permissions to write logs to Azure Blob Storage or Azure Data Lake Storage. We'll do this with some azure CLI commands.
First, we'll enable the cluster to use workload identity. This will allow the AKS agent to use a managed identity to access Azure resources.
az aks update --resource-group <resource-group> --name <cluster-name> --enable-workload-identity --enable-oidc-issuer
Then, we'll create a new managed identity for the AKS agent.
az identity create --resource-group <resource-group> --name agent-identity
We will need to find the name of the service account used by the Dagster+ Agent. If you used the Dagster+ Helm chart, it should be user-cloud-dagster-cloud-agent. You can confirm by using this command:
kubectl get serviceaccount -n <dagster-agent-namespace>
Now we need to federate the managed identity with the service account used by the Dagster+ Agent.
az identity federated-credential create \
  --name dagster-agent-federated-id \
  --identity-name agent-identity \
  --resource-group <resource-group> \
  --issuer $(az aks show -g <resource-group> -n <aks-cluster-name> --query "oidcIssuerProfile.issuerUrl" -otsv) \
  --subject system:serviceaccount:<dagster-agent-namespace>:<dagster-agent-service-account>
You will need to obtain the client id of this identity for the next few operations. Make sure to save this value:
az identity show -g <resource-group> -n agent-identity --query 'clientId' -otsv
We need to grant access to the storage account.
az role assignment create \
  --assignee <managed-identity-client-id> \
  --role "Storage Blob Data Contributor" \
  --scope $(az storage account show -g <resource-group> -n <storage-account> --query 'id' -otsv)
You will need to add new annotations and labels in Kubernetes to enable the use of workload identities. If you're using the Dagster+ Helm Chart, modify your values.yaml to add the following lines:
serviceAccount:
  annotations:
    azure.workload.identity/client-id: '<managed-identity-client-id>'

dagsterCloudAgent:
  labels:
    azure.workload.identity/use: 'true'

workspace:
  labels:
    azure.workload.identity/use: 'true'
If you need to retrieve the values used by your Helm deployment, you can run:
helm get values user-cloud > values.yaml.
Finally, update your Helm release with the new values:
helm upgrade user-cloud dagster-cloud/dagster-cloud-agent -n <dagster-agent-namespace> -f values.yaml
If everything is set up correctly, you should be able to run the following command and see an access token returned:
kubectl exec -n <dagster-agent-namespace> -it <pod-in-cluster> -- bash
# in the pod
apt update && apt install -y curl # install curl if missing, may vary depending on the base image
curl -H "Metadata:true" "http://169.254.169.254/metadata/identity/oauth2/token?resource=https://storage.azure.com/&api-version=2018-02-01"
Step 2: Configure Dagster to use Azure Blob Storage
Once again, you need to update the Helm values to use Azure Blob Storage for logs. You can do this by editing the values.yaml file for your user-cloud deployment to include the following lines:
# values.yaml
computeLogs:
  enabled: true
  custom:
    module: dagster_azure.blob.compute_log_manager
    class: AzureBlobComputeLogManager
    config:
      storage_account: mystorageaccount
      container: mycontainer
      default_azure_credential:
        exclude_environment_credential: false
      prefix: dagster-logs
      upload_interval: 30
      show_url_only: true
Finally, update your deployment with the new values:
helm upgrade user-cloud dagster-cloud/dagster-cloud-agent -n <dagster-agent-namespace> -f values.yaml
Step 3: Update your code location to enable the use of the AzureBlobComputeLogManager
- Add
dagster-azureto yoursetup.pyfile. This will allow you to import theAzureBlobComputeLogManagerclass.
Step 4: Verify logs are being written to Azure Blob Storage
It's time to kick off a run in Dagster to test your new configuration. If following along with the quickstart repo, you should be able to kick off a run of the all_assets_job, which will generate logs for you to test against. Otherwise, use any job that emits logs. When you go to the stdout/stderr window of the run page, you should see a log file that directs you to the Azure Blob Storage container.
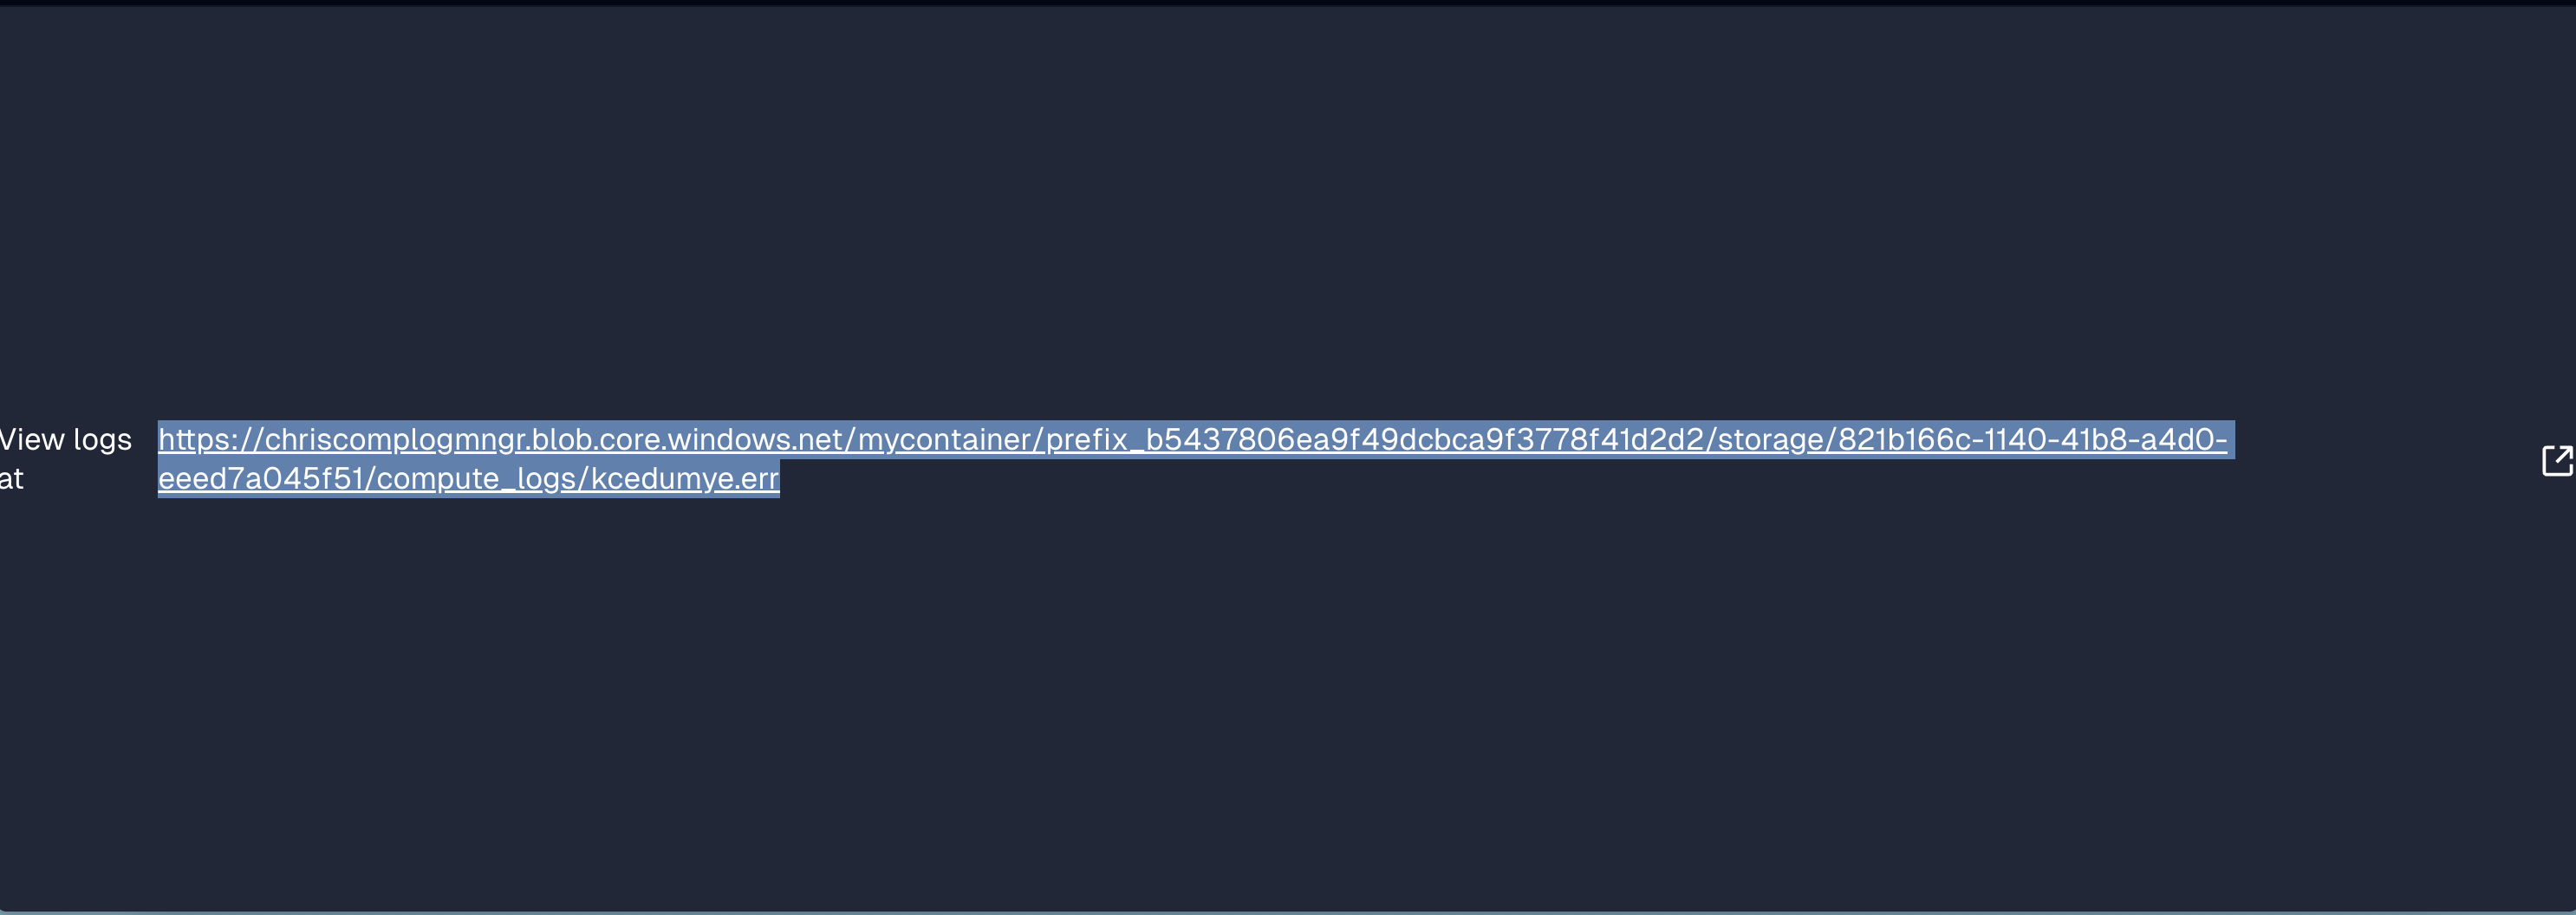
Whether or not the URL will be clickable depends on whether your logs are public or private. If they are private, directly clicking the link would not work, and instead you should use either the Azure CLI or the Azure Portal to access the logs using the URL.