Observe multiple Airflow instances from Dagster
If you are just getting started with Airlift, we recommend using the new Airlift component.
In the previous step, we installed the tutorial example code and started two Airflow instances running locally. In this step, we'll create Dagster asset representations of Airflow DAGs in order to observe the Airflow instances from Dagster.
Install the dagster-airlift package in your Dagster environment
First, create a new shell and navigate to the root of the tutorial directory. You will need to install the dagster-airlift, dagster-webserver, and dagster packages in your Dagster environment:
source .venv/bin/activate
uv add 'dagster-airlift[core]' dagster-webserver dagster
For a full list of dagster-airlift classes and methods, see the API docs.
Observe the warehouse Airflow instance
Next, in your airlift_federation_tutorial/dagster_defs/definitions.py file, declare a reference to the warehouse Airflow instance, which is running at http://localhost:8081:
import dagster as dg
import dagster_airlift.core as dg_airlift_core

warehouse_airflow_instance = dg_airlift_core.AirflowInstance(
    auth_backend=dg_airlift_core.AirflowBasicAuthBackend(
        webserver_url="http://localhost:8081",
        username="admin",
        password="admin",
    ),
    name="warehouse",
)
Now you can use the load_airflow_dag_asset_specs function to create asset representations (AssetSpecs) of the DAGs in the warehouse Airflow instance:
assets = dg_airlift_core.load_airflow_dag_asset_specs(
    airflow_instance=warehouse_airflow_instance,
)
Add these assets to a Definitions object:
defs = dg.Definitions(assets=assets)
Next, set up some environment variables, then point Dagster to the asset created from the Airflow instance:
# Set up environment variables to point to the airlift-federation-tutorial directory on your machine
export TUTORIAL_EXAMPLE_DIR=$(pwd)
export DAGSTER_HOME="$TUTORIAL_EXAMPLE_DIR/.dagster_home"
dagster dev -f airlift_federation_tutorial/dagster_defs/definitions.py
If you navigate to the Dagster UI (running at http://localhost:3000), you should see the assets created from the warehouse Airflow instance:

There are a lot of DAGs in this instance, but we only want to focus on the load_customers DAG. Filter the assets to only include the load_customers DAG:
load_customers = next(
    iter(
        dg_airlift_core.load_airflow_dag_asset_specs(
            airflow_instance=warehouse_airflow_instance,
            dag_selector_fn=lambda dag: dag.dag_id == "load_customers",
        )
    )
)
Add this asset to the Definitions object:
defs = dg.Definitions(assets=[load_customers])
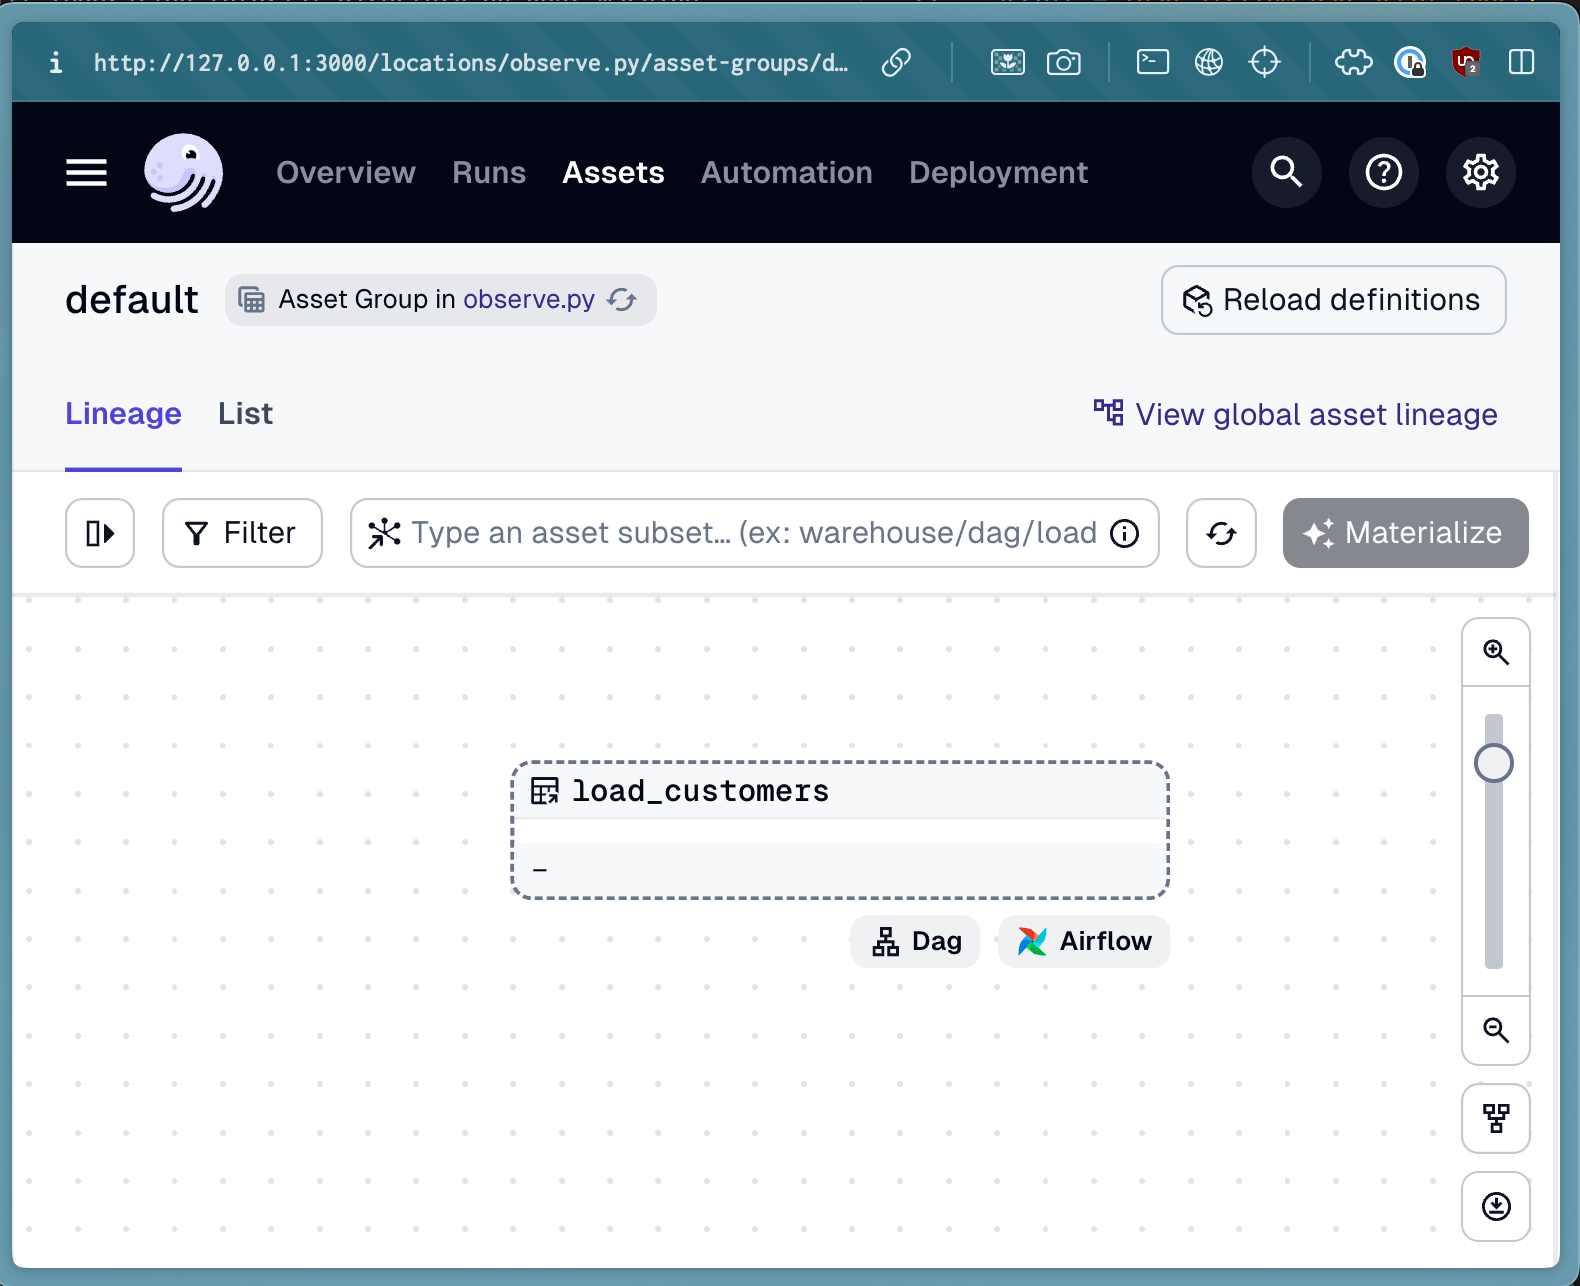
Now, your Dagster environment only includes the load_customers DAG from the warehouse Airflow instance:
Finally, create a sensor to poll the warehouse Airflow instance for new runs. This sensor ensures that whenever there is a successful run of the load_customers DAG, there will be a materialization in the Dagster UI:
warehouse_sensor = dg_airlift_core.build_airflow_polling_sensor(
    mapped_assets=[load_customers],
    airflow_instance=warehouse_airflow_instance,
)
Next, add this sensor to our Definitions object:
defs = dg.Definitions(assets=[load_customers], sensors=[warehouse_sensor])
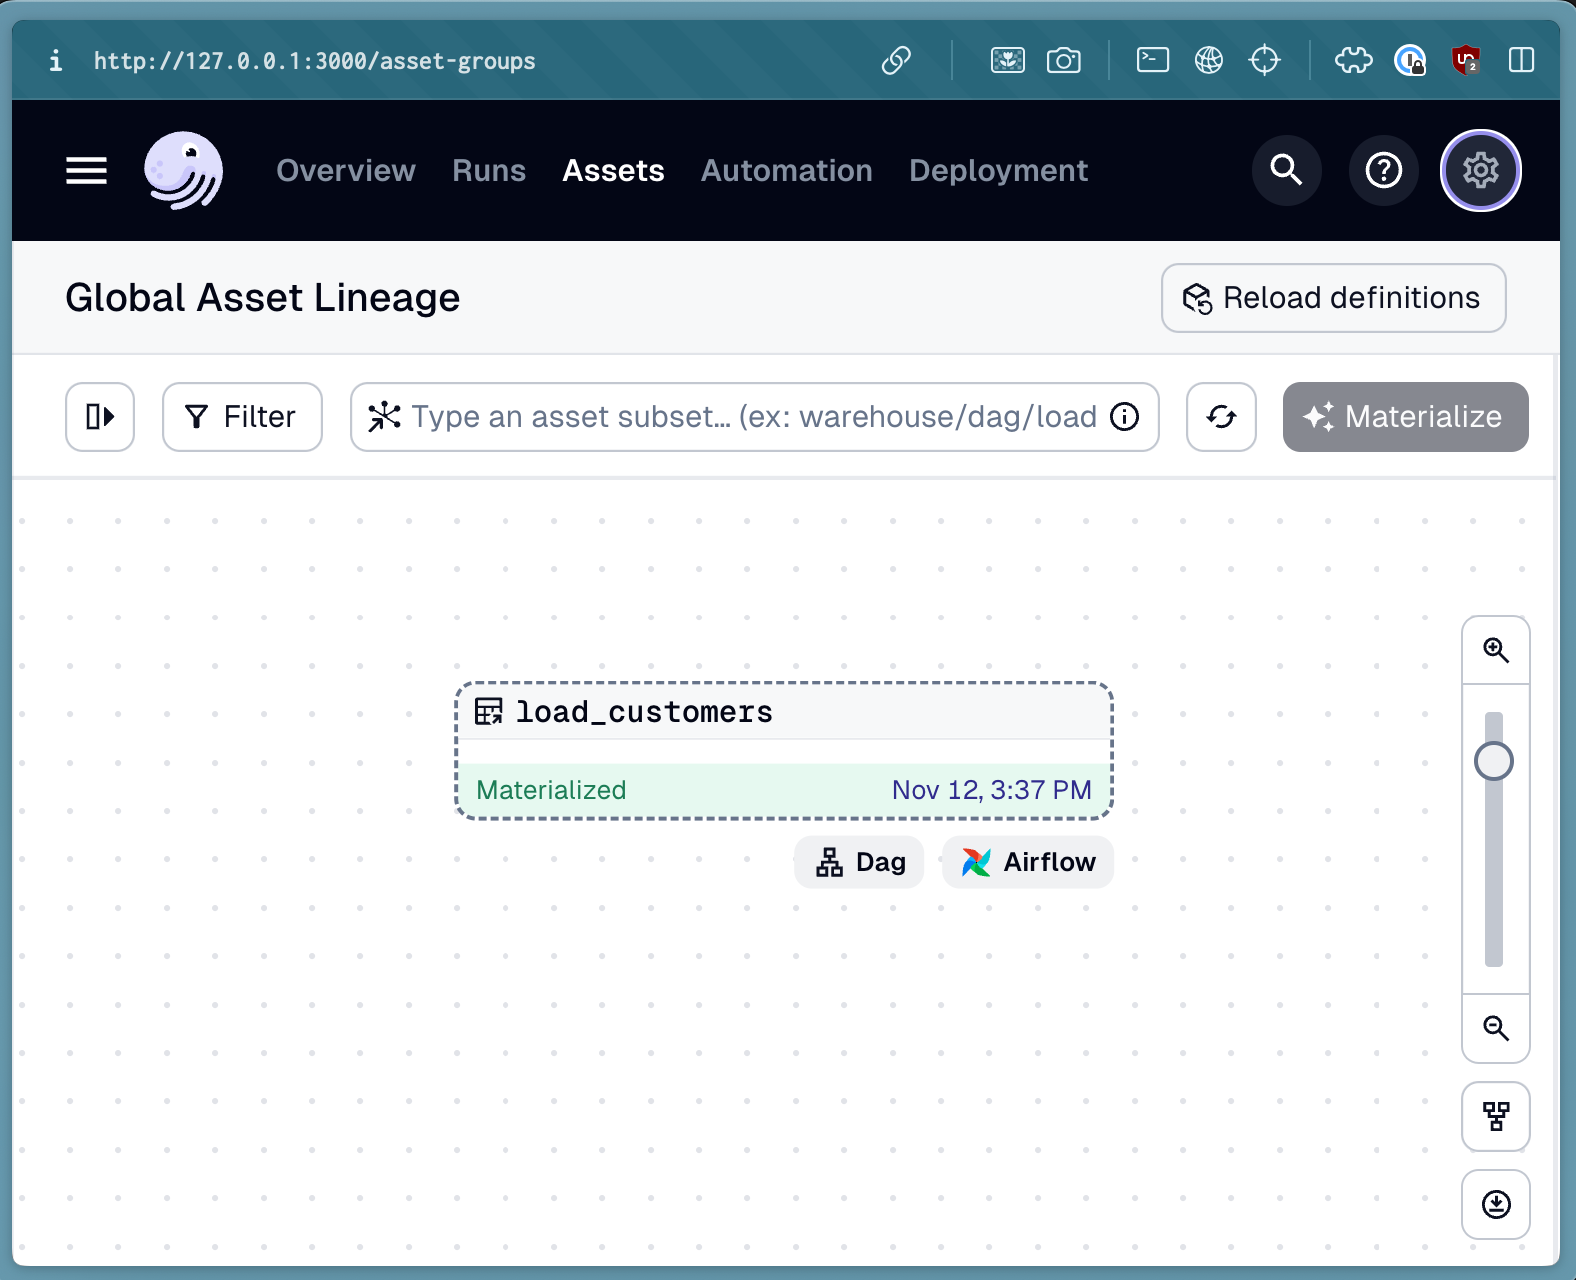
You can test this by navigating to the Airflow UI at localhost:8081, and triggering a run of the load_customers DAG. When the run completes, you should see a materialization in the Dagster UI:
Observe the metrics Airflow instance
You can repeat the same process for the customer_metrics DAG in the metrics Airflow instance, which runs at http://localhost:8082. We'll leave this as an exercise to test your understanding.
To see what the code should look like after you have completed all the steps above, check out the example in GitHub.
Observe the cross-DAG lineage between load_customer and customer_metrics
Now that you have both DAGs loaded into Dagster, you can observe the cross-DAG lineage between them. To do this, use the replace_attributes function to add a dependency from the load_customers asset to the customer_metrics asset:
customer_metrics_dag_asset = customer_metrics_dag_asset.replace_attributes(
    deps=[load_customers],
)
Now, after adding the updated customer_metrics_dag_asset to our Definitions object, you should see the lineage between the two DAGs in the Dagster UI:

Next steps
In the next step, "Federate execution across Airflow instances", we'll federate the execution of our DAGs across both Airflow instances.