Deploying Dagster to Kubernetes with Helm
This guide will walk you through how to run the Dagster-specific components of a Dagster production deployment on a Kubernetes cluster. This includes the Dagster daemon, a webserver to serve the Dagster UI, a PostgrSQL container, and your Dagster project user code.
Dagster provides Helm charts for deploying Dagster that you can customize for your specific needs. For each Dagster component used by the Helm chart, Dagster publishes a corresponding image to DockerHub.
Prerequisites
To follow the steps in this guide, you'll need:
- Familiarity with Docker, and:
- To have Docker installed. Docker installation guide
- Access to a Docker image registry, such as Amazon Web Services ECR or DockerHub. If you're following along on your local machine, this isn't required.
- Familiarity with Kubernetes, and:
- To have
kubectlinstalled. Kubernetes installation guide - An existing Kubernetes cluster. To follow along on your local machine, install Docker Desktop and turn on the included Kubernetes server.
- To have
- Familiarity with Helm, and:
- To have Helm 3 installed. Helm installation guide
- A Dagster project to deploy. You can also use the example project:
dagster project from-example --example deploy_k8s --name deploy_k8s
Step 1: Write and build a Docker image containing your Dagster project
Step 1.1: Write a Dockerfile
Next, you'll build a Docker image that contains your Dagster project and all of its dependencies. The Dockerfile should:
- Copy your Dagster project into the image.
- Install
dagster,dagster-postgres, anddagster-k8s, along with any other libraries your project depends on. The example project has a dependency onpandasso it's included in thepip installin the following example Dockerfile. - Expose port 80, which we'll use to set up port-forwarding later.
FROM python:3.11

# Copy your Dagster project. You may need to replace the filepath depending on your project structure
COPY . /

# This makes sure that logs show up immediately instead of being buffered
ENV PYTHONUNBUFFERED=1

RUN pip install --upgrade pip

# Install dagster and any other dependencies your project requires
RUN \
    pip install \
        dagster \
        dagster-postgres \
        dagster-k8s \
        # add any other dependencies here
        pandas


WORKDIR /deploy_k8s/

# Expose the port that your Dagster instance will run on
EXPOSE 80
Step 1.2: Build and push a Docker image
To build your Docker image, run the following command from the directory where your Dockerfile is located:
docker build . -t deploy_k8s:1
This builds the Docker image from Step 1.1 and gives it the name deploy_k8s and tag 1. You can set custom values for both the name and the tag. We recommend that each time you rebuild your Docker image, you assign a new value for the tag to ensure that the correct image is used when running your code.
If you are using a Docker image registry, push the image to your registry. If you are following along on your local machine, you can skip this command.
docker push deploy_k8s:1
If you are pushing your image to an image registry, you can find more information about this process in your registry's documentation:
Step 2: Configure kubectl to point at a Kubernetes cluster
Before you can deploy Dagster, you need to configure kubectl to develop against the Kubernetes cluster where you want Dagster to be deployed.
If you are using Docker Desktop and the included Kubernetes server, you will need to create a context first. If you already have a Kubernetes cluster and context created for your Dagster deployment you can skip running this command.
kubectl config set-context dagster --namespace default --cluster docker-desktop --user=docker-desktop
Ensure that kubectl is using the correct context by running:
kubectl config use-context <context-name>
Where <context-name> is the name of the context you want to use. For example, if you ran the preceding kubectl config set-context command, you will run
kubectl config use-context dagster
Step 3: Add the Dagster Helm chart repository
Dagster publishes Helm charts for deploying Dagster, with a new chart for each Dagster version.
To install the Dagster Helm charts, run the following command:
helm repo add dagster https://dagster-io.github.io/helm
If you have previously added the Dagster Helm charts, run the following command to update the repository:
helm repo update
Step 4: Configure the Helm chart for your deployment
You will need to modify some values in Dagster's Helm chart to deploy your Dagster project.
Step 4.1: Copy default Helm chart values into values.yaml
Run the following command to copy the values installed from the published Helm charts:
helm show values dagster/dagster > values.yaml
Step 4.2: Modify the values.yaml file for your deployment
The values.yaml file contains configuration options you can set for your deployment. Different configuration options are explained in inline comments in values.yaml.
To deploy your project, you'll need to set the following options:
dagster-user-deployments.deployments.name, which should be a unique name for your deploymentdagster-user-deployments.deployments.image.repositoryanddagster-user-deployments.deployments.image.tag, which should be set to match the Docker image from Step 1dagster-user-deployments.deployments.dagsterApiGrpcArgs, which should be set to the arguments you would pass todagster api grpcto run a gRPC server for your project.
If you are following this guide on your local machine, you will also need to set pullPolicy: IfNotPresent. This will use the local version of the image built in Step 1. However, in production use cases when your Docker images are pushed to image registries, this value should remain pullPolicy: Always.
... # Preceding configuration omitted for brevity
dagster-user-deployments:
... # omitted for brevity
  deployments:
    - name: "iris-analysis" # set to the name of your deployment
      image:
        repository: "deploy_k8s" # set to the name of your Docker image
        # When a tag is not supplied, it will default as the Helm chart version.
        tag: 1 # set to the tag of your Docker image

        # Only change this value if you are following the guide on your
        # local machine. If you are pushing images to a registry,
        # leave the value as Always
        pullPolicy: IfNotPresent

      dagsterApiGrpcArgs:
        - "--python-file"
        - "/deploy_k8s/definitions.py"

... # Following configuration omitted for brevity
In this example, the image repository and tag are set to deploy_k8s and 1 to match the image that was pushed in Step 1. To run the gPRC server, the path to the Dagster project needs to be specified, so --python-file and /deploy_k8s/definitions.py are set for dagsterApiGrpcArgs.
Step 5: Install the Helm chart
Now that you have modified the Helm values.yaml file, you can install the changes in your Kubernetes cluster.
Run the following command to install the Helm chart and create a release.
helm upgrade --install dagster dagster/dagster -f /path/to/values.yaml
If you want to run an older version of the Dagster system components, like the daemon and webserver, pass the --version flag to helm upgrade with the version of Dagster you are running. For example, if you want to run version 1.7.4 you'll run the command helm upgrade --install dagster dagster/dagster -f /path/to/values.yaml --version 1.7.4
The helm upgrade command will launch several pods in your Kubernetes cluster. You can check the status of the pod with the command:
kubectl get pods
It may take a few minutes before all pods are in a RUNNING state. If the helm upgrade was successful, you should see a kubectl get pods output similar to this:
$ kubectl get pods
NAME                                                              READY   STATUS      AGE
dagster-daemon-5787ccc868-nsvsg                                   1/1     Running     3m41s
dagster-webserver-7c5b5c7f5c-rqrf8                                1/1     Running     3m41s
dagster-dagster-user-deployments-iris-analysis-564cbcf9f-fbqlw    1/1     Running     3m41s
dagster-postgresql-0                                              1/1     Running     3m41s
Debugging failed pods
If one of the pods is in an error state, you can view the logs using the command
kubectl logs <pod-name>
For example, if the pod dagster-webserver-7c5b5c7f5c-rqrf8 is in a CrashLoopBackOff state, the logs can be viewed with the command
kubectl logs dagster-webserver-7c5b5c7f5c-rqrf8
Step 6: Connect to your Dagster deployment and materialize your assets
Step 6.1: Start port-forwarding to the webserver pod
Run the following command to set up port forwarding to the webserver pod:
DAGSTER_WEBSERVER_POD_NAME=$(kubectl get pods --namespace default \
  -l "app.kubernetes.io/name=dagster,app.kubernetes.io/instance=dagster,component=dagster-webserver" \
  -o jsonpath="{.items[0].metadata.name}")
kubectl --namespace default port-forward $DAGSTER_WEBSERVER_POD_NAME 8080:80
This command gets the full name of the webserver pod from the output of kubectl get pods, and then sets up port forwarding with the kubectl port-forward command.
Step 6.2: Visit your Dagster deployment
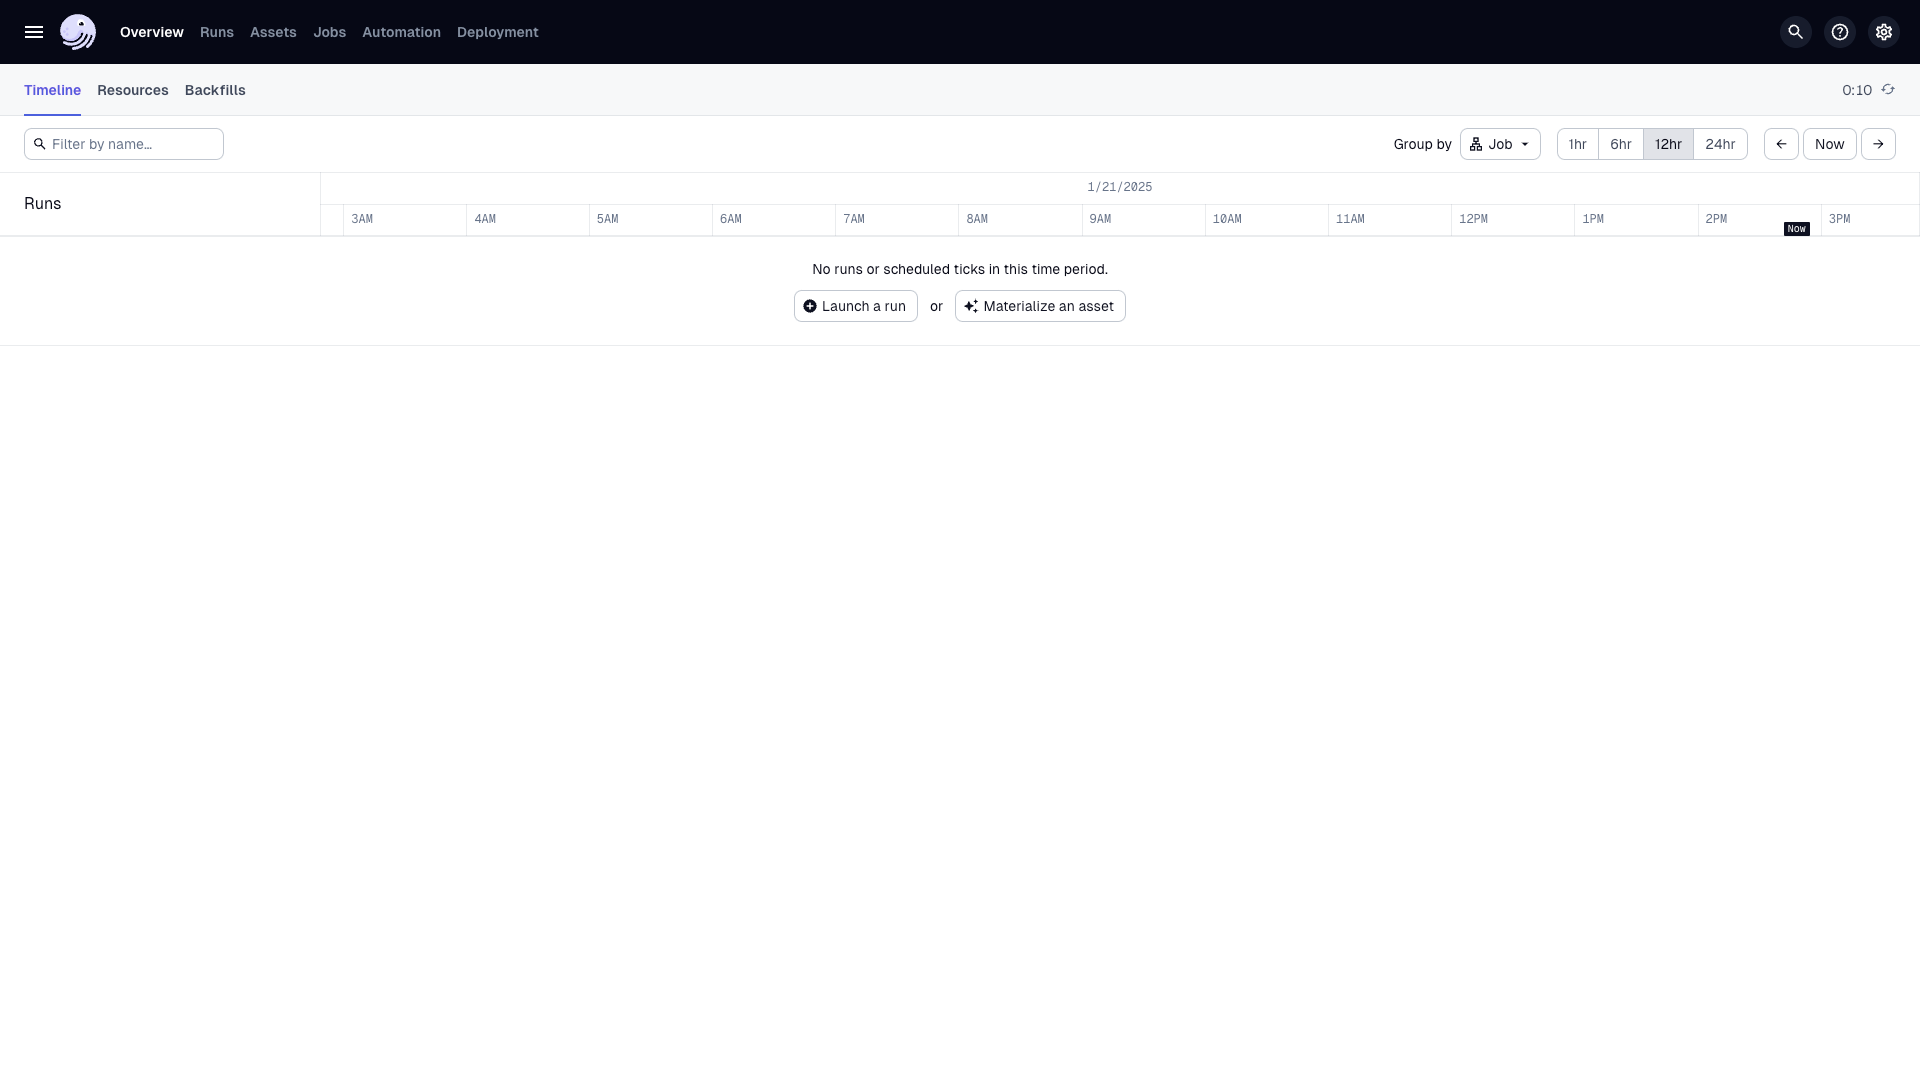
The webserver has been port-forwarded to 8080, so you can visit the Dagster deployment by going to http://127.0.0.1:8080. You should see the Dagster landing page
Step 6.3: Materialize an asset
In the Dagster UI, navigate to the Asset catalog and click the Materialize button to materialize an asset. Dagster will start a Kubernetes job to materialize the asset. You can introspect on the Kubernetes cluster to see this job:
$ kubectl get jobs
NAME                                               COMPLETIONS   DURATION   AGE
dagster-run-5ee8a0b3-7ca5-44e6-97a6-8f4bd86ee630   1/1           4s         11s