Docker agent setup
This guide is applicable to Dagster+.
In this guide, you'll configure and run a Docker agent. Docker agents are used to launch your code in Docker containers.
Prerequisites
To complete the steps in this guide, you'll need:
-
Permissions in Dagster+ that allow you to manage agent tokens. Refer to the User permissions documentation for more info.
-
To have Docker installed
-
Access to a container registry to which you can push images with Dagster code. Additionally, your Docker agent must have the permissions required to pull images from the registry.
This can be:
- A self-hosted registry,
- A public registry such as DockerHub, or
- A managed offering such as Amazon ECR, Azure CR, or Google CR
Step 1: Generate a Dagster+ agent token
In this step, you'll generate a token for the Dagster+ agent. The Dagster+ agent will use this to authenticate to the agent API.
- Sign in to your Dagster+ instance.
- Click the user menu (your icon) > Organization Settings.
- In the Organization Settings page, click the Tokens tab.
- Click the + Create agent token button.
- After the token has been created, click Reveal token.
Keep the token somewhere handy - you'll need it to complete the setup.
Step 2: Create a Docker agent
-
Create a Docker network for your agent:
docker network create dagster_cloud_agent -
Create a
dagster.yamlfile:instance_class:
module: dagster_cloud.instance
class: DagsterCloudAgentInstance
dagster_cloud_api:
agent_token: <YOUR_AGENT_TOKEN>
branch_deployments: true # enables branch deployments
deployment: prod
user_code_launcher:
module: dagster_cloud.workspace.docker
class: DockerUserCodeLauncher
config:
networks:
- dagster_cloud_agent -
In the file, fill in the following:
-
agent_token- Add the agent token you created in Step 1 -
deployment- Enter the deployment associated with this instance of the agent.In the above example, we specified
prodas the deployment. This is present when Dagster+ organizations are first created.
-
-
Save the file.
Step 3: Start the agent
Next, you'll start the agent as a container. Run the following command in the same folder as your dagster.yaml file:
docker run \
  --network=dagster_cloud_agent \
  --volume $PWD/dagster.yaml:/opt/dagster/app/dagster.yaml:ro \
  --volume /var/run/docker.sock:/var/run/docker.sock \
  -it docker.io/dagster/dagster-cloud-agent:latest \
  dagster-cloud agent run /opt/dagster/app
This command:
- Starts the agent with your local
dagster.yamlmounted as a volume - Starts the system Docker socket mounted as a volume, allowing the agent to launch containers.
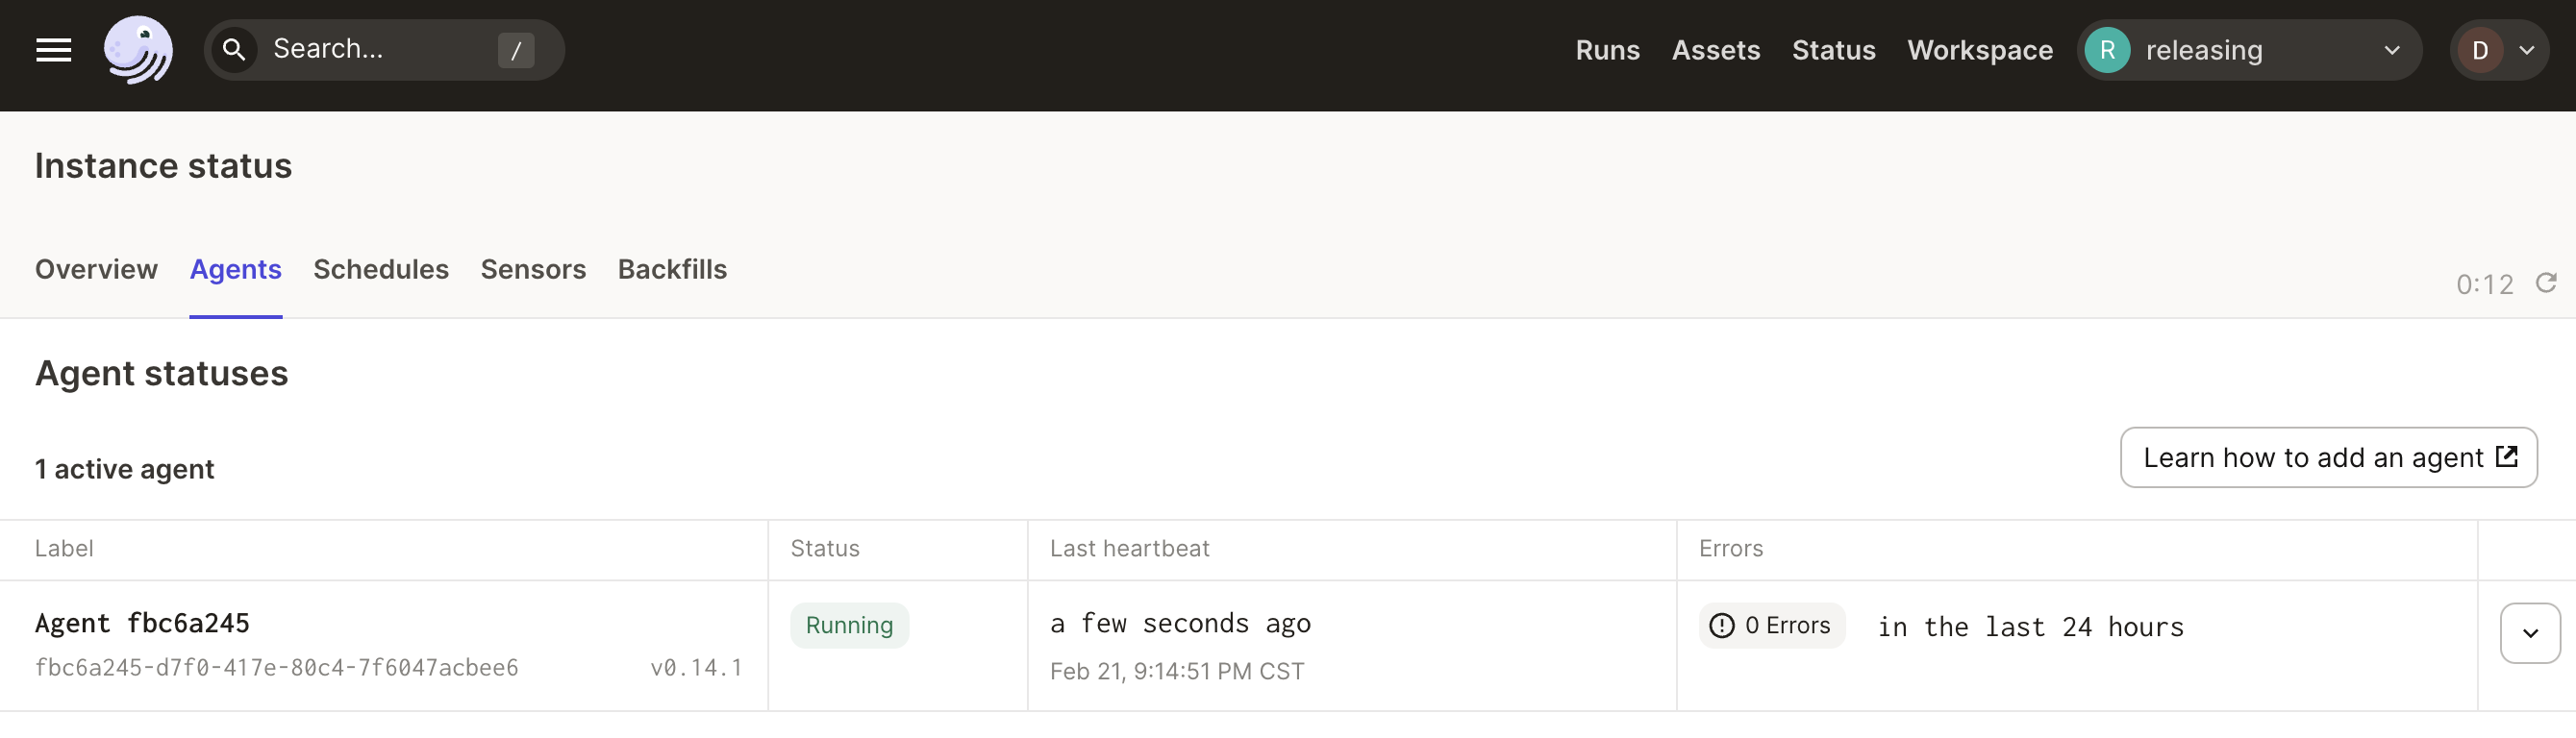
To view the agent in Dagster+, click the Dagster icon in the top left to navigate to the Status page and click the Agents tab. You should see the agent running in the Agent statuses section:
Credential Helpers
If your images are stored in a private registry, configuring a Docker credentials helper allows the agent to log in to your registry. The agent image comes with several popular credentials helpers preinstalled:
These credential helpers generally are configured in ~/.docker.config.json. To use one, make sure you mount that file as a volume when you start your agent:
  docker run \
    --network=dagster_cloud_agent \
    --volume $PWD/dagster.yaml:/opt/dagster/app/dagster.yaml:ro \
    --volume /var/run/docker.sock:/var/run/docker.sock \
    --volume ~/.docker/config.json:/root/.docker/config.json:ro \
    -it docker.io/dagster/dagster-cloud-agent:latest \
    dagster-cloud agent run /opt/dagster/app
Next steps
Now that you've got your agent running, what's next?
- If you're getting Dagster+ set up, the next step is to add a code location using the agent.
- If you're ready to load your Dagster code, refer to the Adding Code to Dagster+ guide for more info.