Managing users in Dagster+
Dagster+ allows you to grant specific permissions to your organization's users, ensuring that Dagster users have access only to what they require.
In this guide, you'll learn how to manage users and their permissions using the Dagster+ UI.
- A Dagster+ account
- The required Dagster+ permissions:
- Organization Admins can add, manage, and remove users
- Admins can add users
Before you start
- If System for Cross-domain Identity Management specification (SCIM) provisioning is enabled, you'll need to add new users in your identity provider (IdP). Adding users will be disabled in Dagster+.
- If using Google for Single sign-on (SSO), users must be added in Dagster+ before they can log in.
- If using an Identity Provider (IdP) like Okta for SSO, users must be assigned to the Dagster app in the IdP to be able to log in to Dagster+. Refer to the SSO setup guides for setup instructions for each of our supported IdP solutions.
By default, users will be granted Viewer permissions on each deployment. The default role can be adjusted by modifying the sso_default_role deployment setting.
Adding users to Dagster+
- Sign in to your Dagster+ account.
- Click the user menu (your icon) > Organization Settings.
- Click the Users tab.
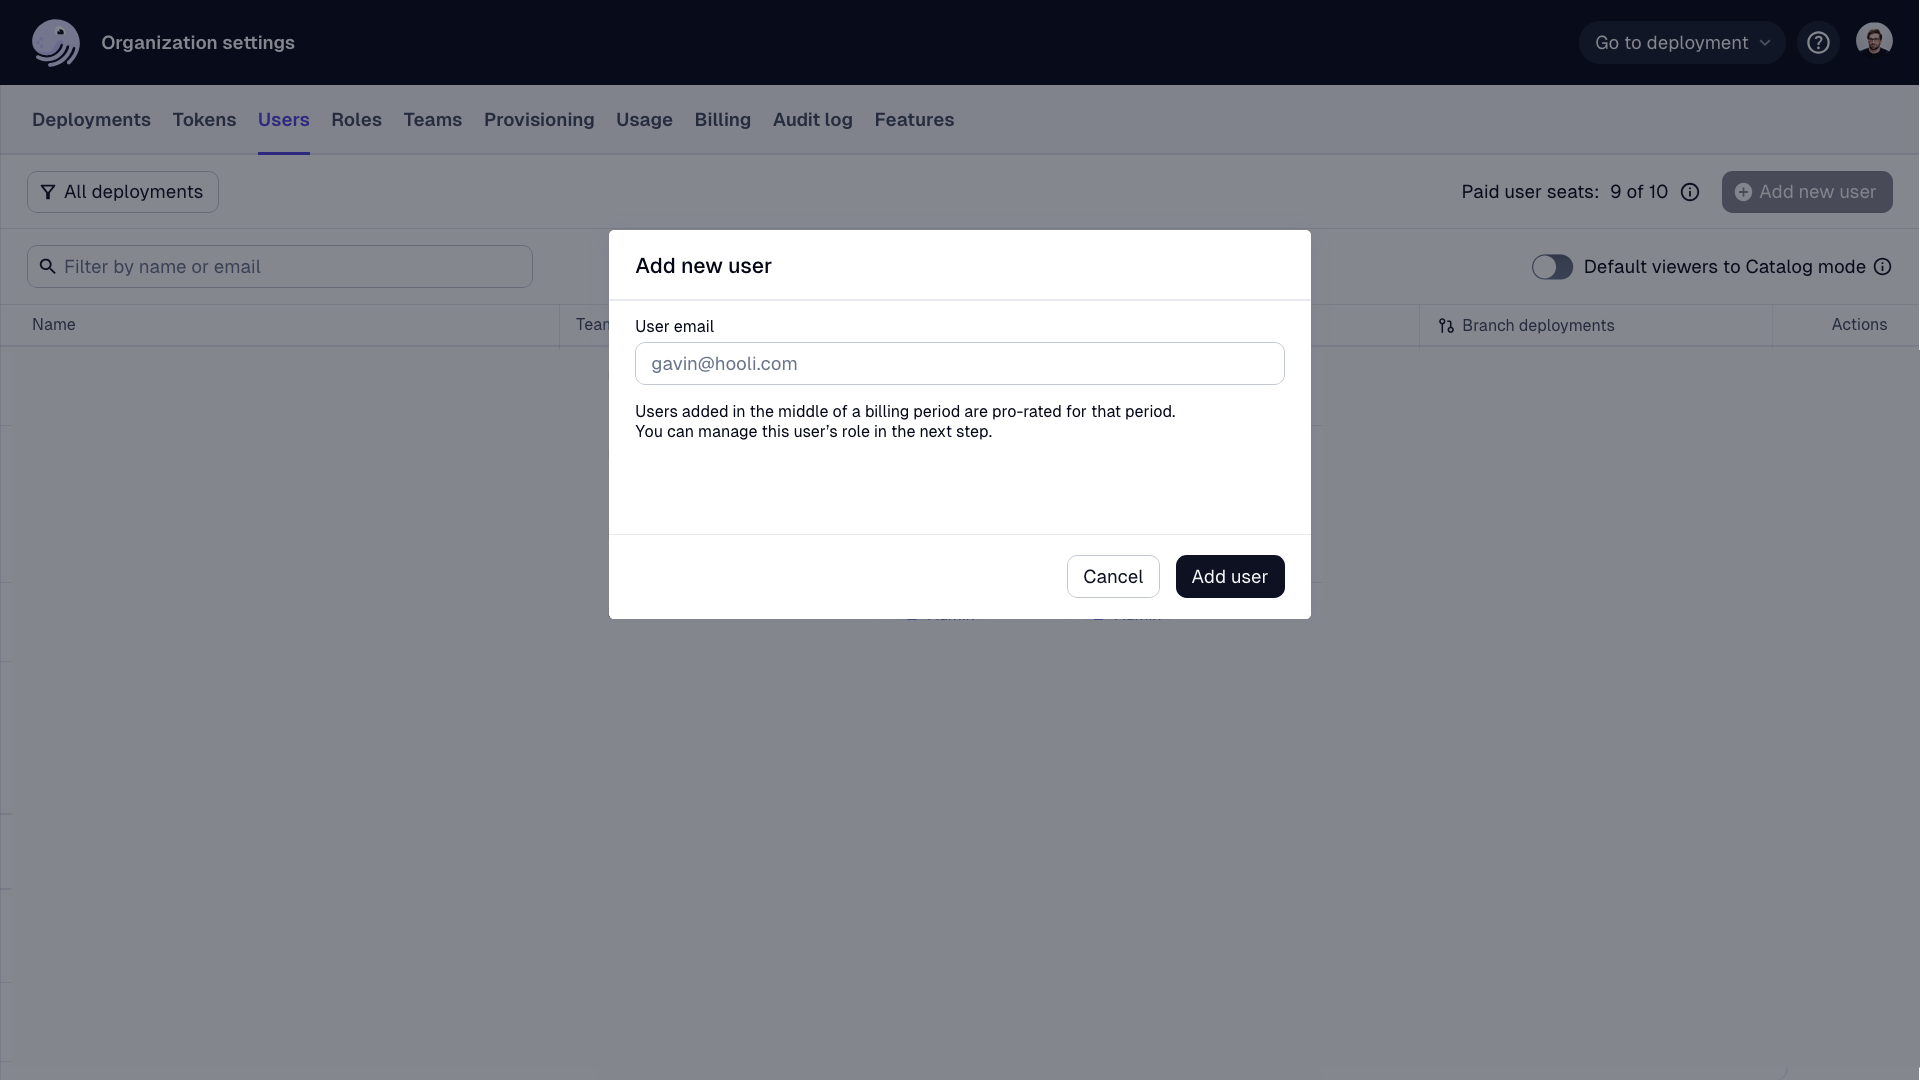
- Click Add new user.
- In the User email field, enter the user's email address.
- Click Add user.
After the user is created, they will be notified via email, and you can add the user to teams and assign user roles for each deployment.
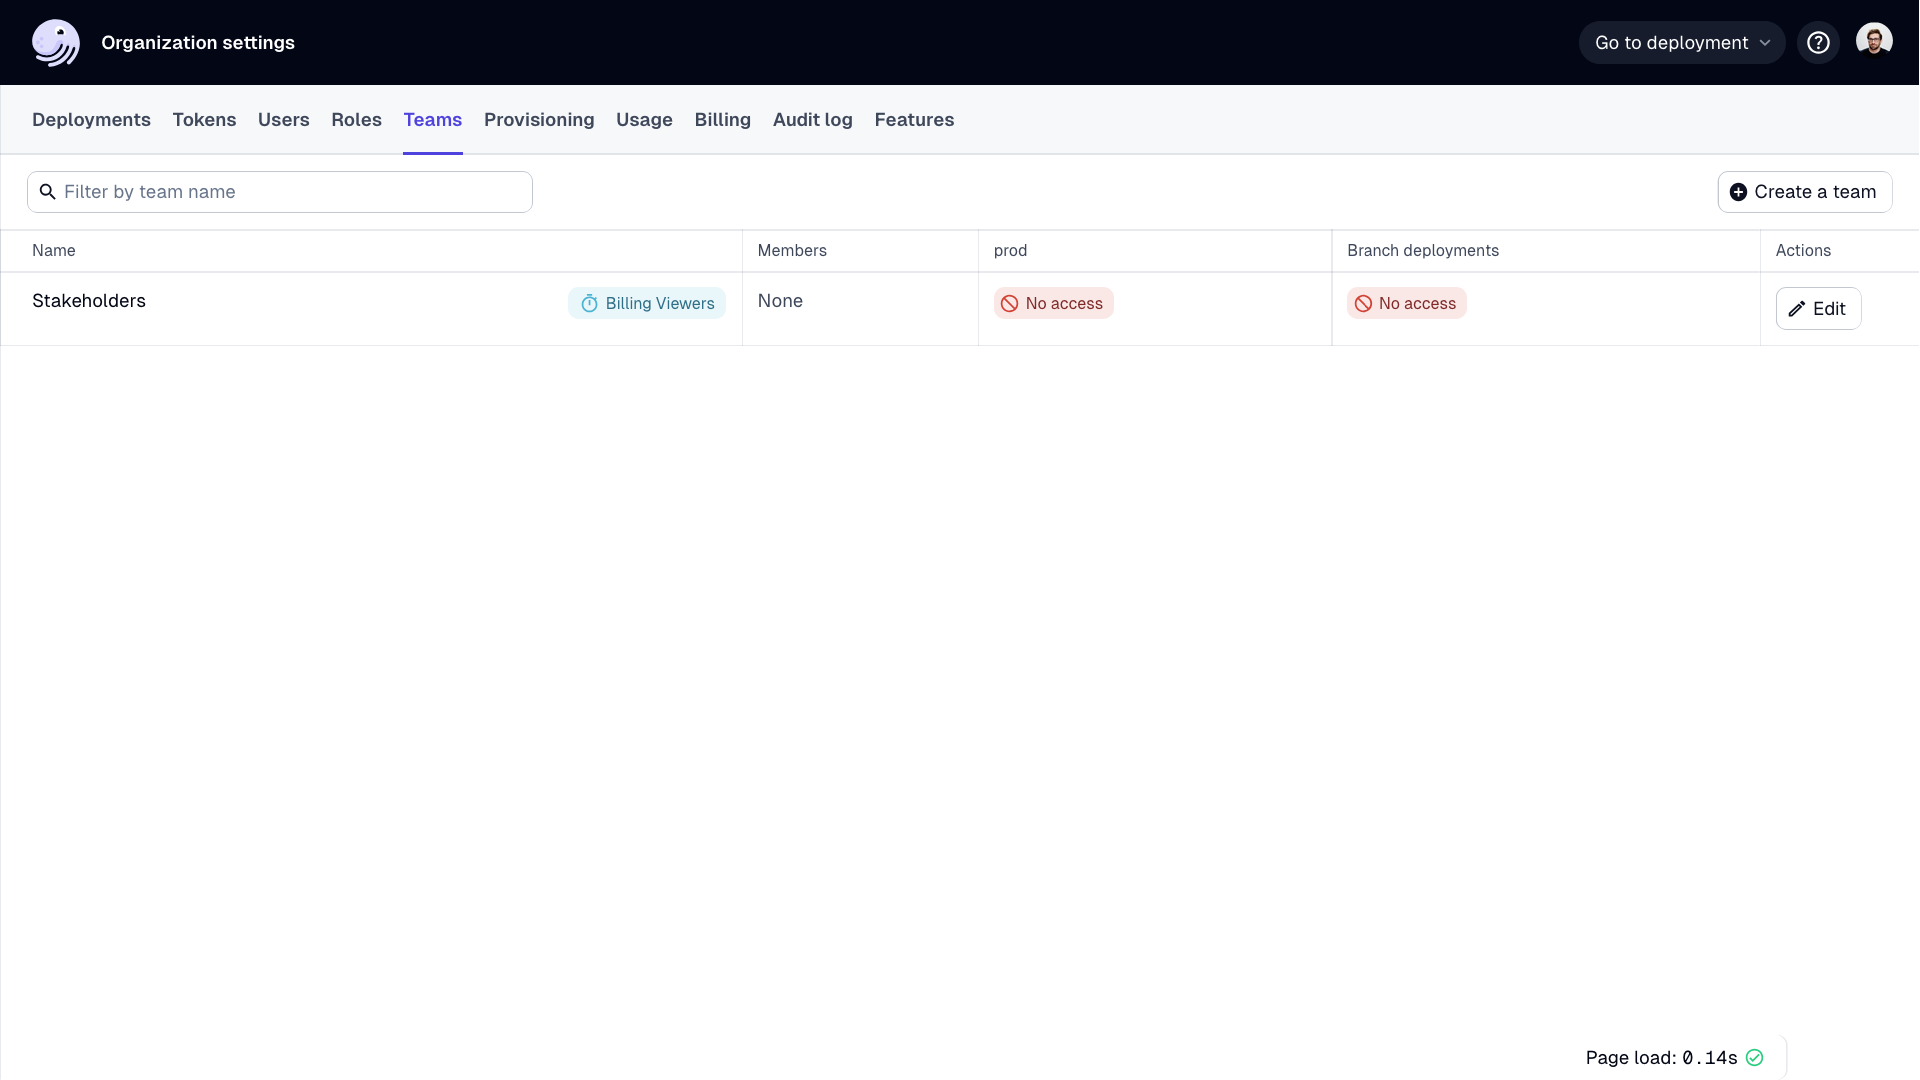
Adding users to teams
Teams are a Dagster+ Pro feature.
Teams are useful for centralizing permission sets for different types of users. Refer to Managing teams for more information about creating and managing teams.
When determining a user's level of access, Dagster+ will use the most permissive role assigned to the user between all of their team memberships and any individual role grants. Refer to Managing user roles and permissions for more information.
Assigning user roles
In the Roles section, you can assign a user role for each deployment, granting them a set of permissions that controls their access to various features and functionalities within the platform.
- Next to a deployment, click Edit user role.
- Select the user role for the deployment. This user role will be used as the default for all code locations in the deployment.
- Click Save.
- Pro only: To set permissions for individual code locations in a deployment:
- Click the toggle to the left of the deployment to open a list of code locations.
- Next to a code location, click Edit user role.
- Select the user role for the code location.
- Click Save.
- Repeat the previous steps for each deployment.
- Optional: To change the user's permissions for branch deployments:
- Next to All branch deployments, click Edit user role.
- Select the user role to use for all branch deployments.
- Click Save.
- Click Done.
Removing users
Removing a user removes them from the organization. Note: If using a SAML-based SSO solution like Okta, you'll also need to remove the user from the IdP. Removing the user in Dagster+ doesn't remove them from the IdP.
- Sign in to your Dagster+ account.
- Click the user menu (your icon) > Organization Settings.
- Click the Users tab.
- Locate the user in the user list.
- Click Edit.
- Click Remove user.
- When prompted, confirm the removal.
Next steps
- Learn more about role-based access control (RBAC) in Understanding User Roles & Permissions
- Learn more about how to manage teams in Dagster+ in Understanding Team Management in Dagster+
- Learn more about SCIM provisioning in SCIM Provisioning
- Learn more about authentication in the SSO documentation