Setting up Okta SSO for Dagster+
In this guide, you'll configure Okta to use single sign-on (SSO) with your Dagster+ organization.
Prerequisites
To complete the steps in this guide, you'll need:
- An existing Okta account
- To install the
dagster-cloudCLI - The following in Dagster+:
- A Pro plan
- Access to a user token
- Organization Admin permissions in your organization
Step 1: Add the Dagster+ app in Okta
- Sign in to your Okta Admin Dashboard.
- Using the sidebar, click Applications > Applications.
- On the Applications page, click Browse App Catalog.
- On the Browse App Integration Catalog page, search for
Dagster Cloud. - Add and save the application.
Step 2: Configure SSO in Okta
- In Okta, open the Dagster Cloud application and navigate to its Sign On Settings.
- Scroll down to the Advanced Sign-on settings section.
- In the Organization field, enter your Dagster+ organization name. This is used to route the SAML response to the correct Dagster+ subdomain.
For example, your organization name is hooli and your Dagster+ domain is https://hooli.dagster.cloud. To configure this correctly, you'd enter hooli into the Organization field:
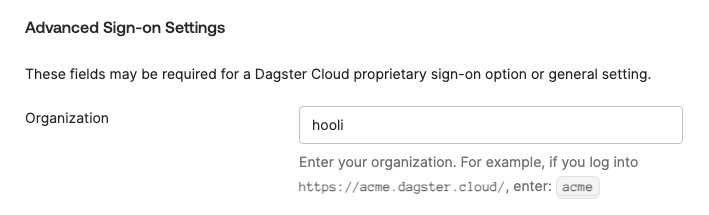
- When finished, click Done.
Step 3: Upload the SAML metadata to Dagster+
Next, you'll save and upload the application's SAML metadata to Dagster+. This will enable single sign-on.
-
In the Sign On Settings, navigate to the SAML Signing Certificates section.
-
Click the Actions button of the Active certificate.
-
Click View IdP metadata:
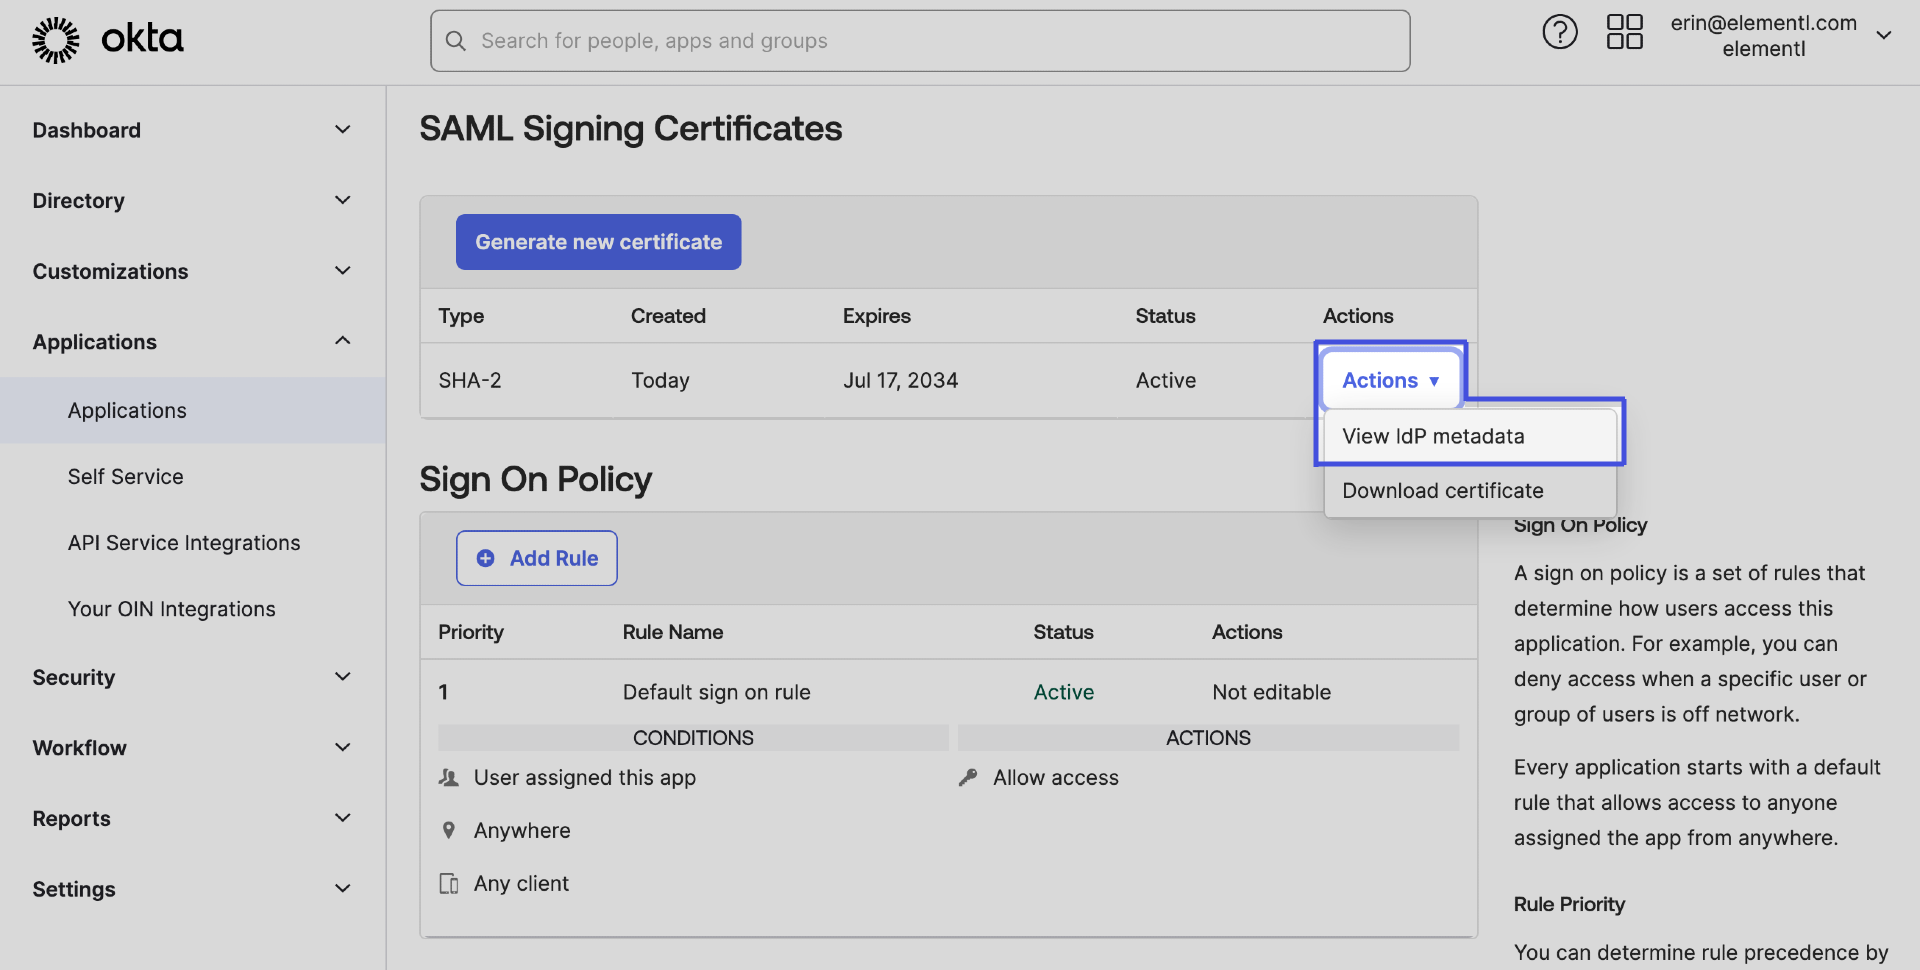
This will open a new page in your browser with the IdP metadata in XML format.
-
Right-click the page and use Save As or Save Page As:
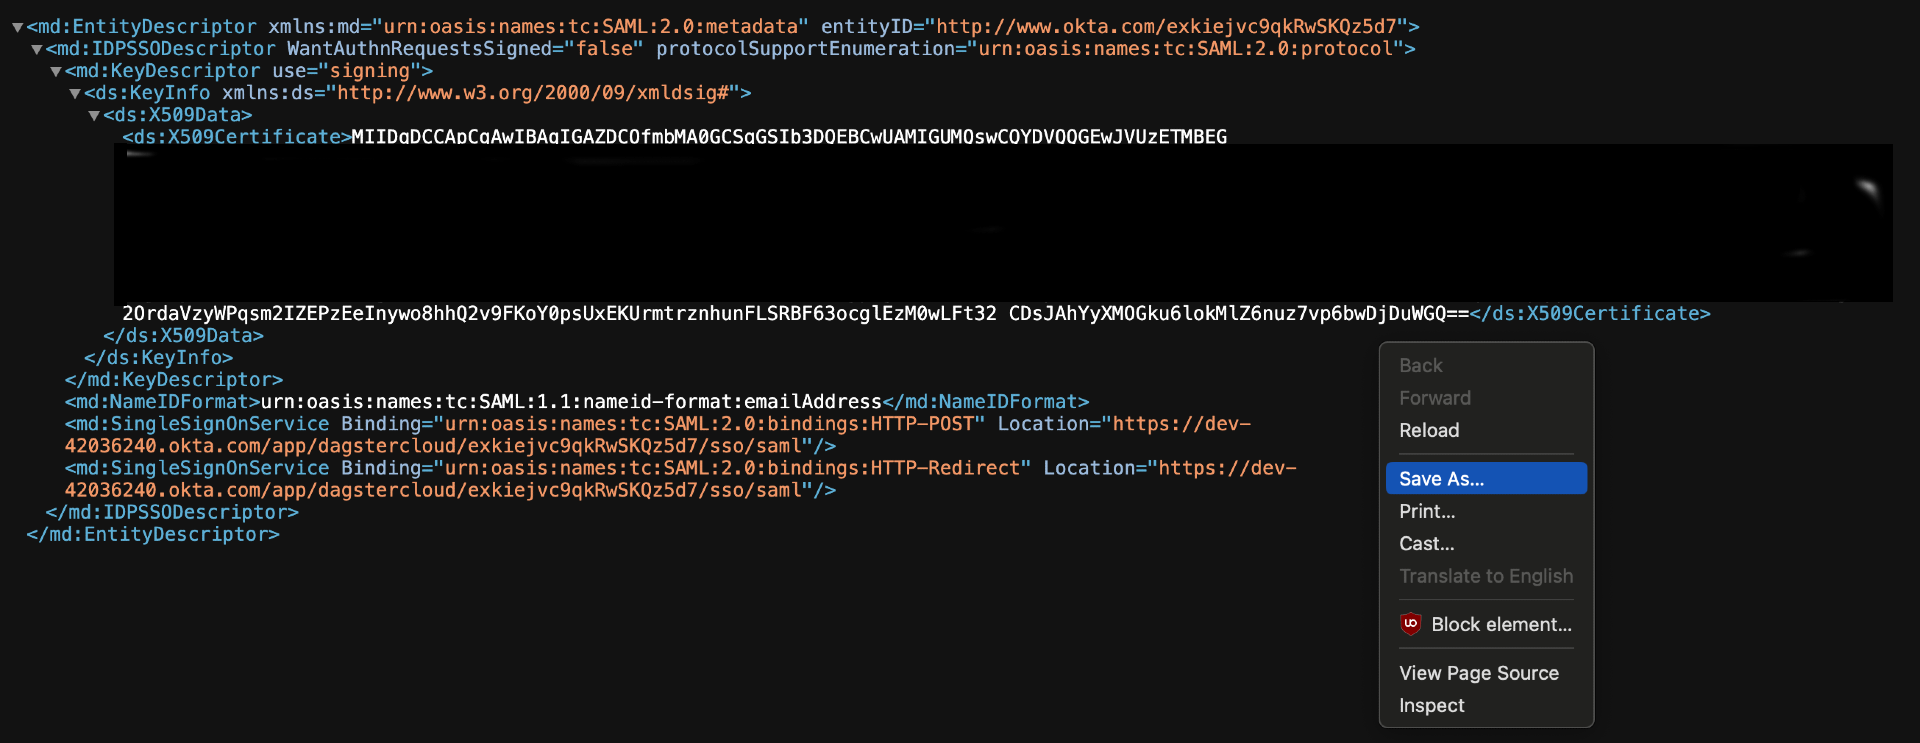
In Chrome and Edge, the file will be downloaded as an XML file. In Firefox, choose Save Page As > Save as type, then select All files.
noteCopying and pasting the metadata can cause formatting issues that will prevent successful setup. Saving the page directly from the browser will avoid this.
-
After you've downloaded the metadata file, upload it to Dagster+ using the
dagster-cloudCLI:dagster-cloud organization settings saml upload-identity-provider-metadata <path/to/metadata> \
--api-token=<user_token> \
--url https://<organization_name>.dagster.cloud
Step 4: Grant access to users
Next, you'll assign users to the Dagster+ application in Okta. This will allow them to log in using their Okta credentials when the single sign-on flow is initiated.
- In the Dagster+ application, navigate to Assignments.
- Click Assign > Assign to People.
- For each user you want to have access to Dagster+, click Assign then Save and Go Back.
Step 5: Test your SSO configuration
Lastly, you'll test your SSO configuration:
Testing a service provider-initiated login
-
Navigate to your Dagster+ sign in page at
https://<organization_name>.dagster.cloud -
Click the Sign in with SSO button.
-
Initiate the login flow and address issues that arise, if any.
Testing an identity provider-initiated login
In the Okta Applications page, click the Dagster+ icon:
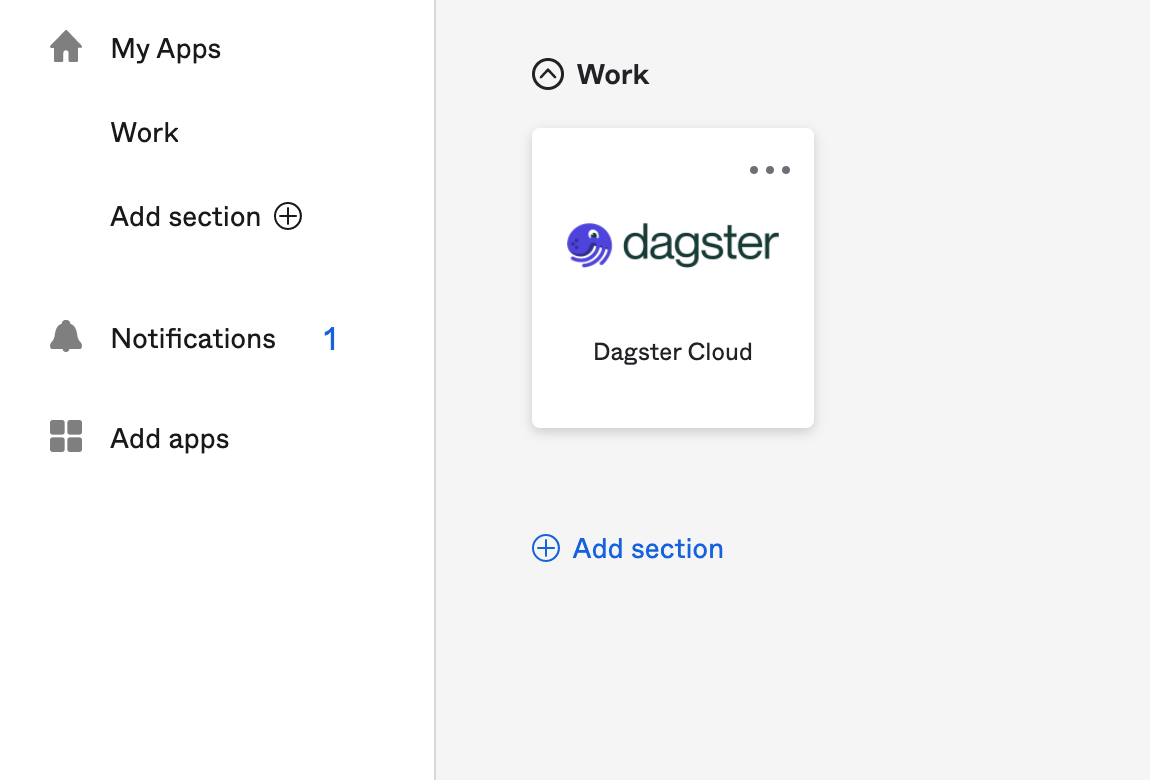
If successful, you'll be automatically signed into your Dagster+ organization.